
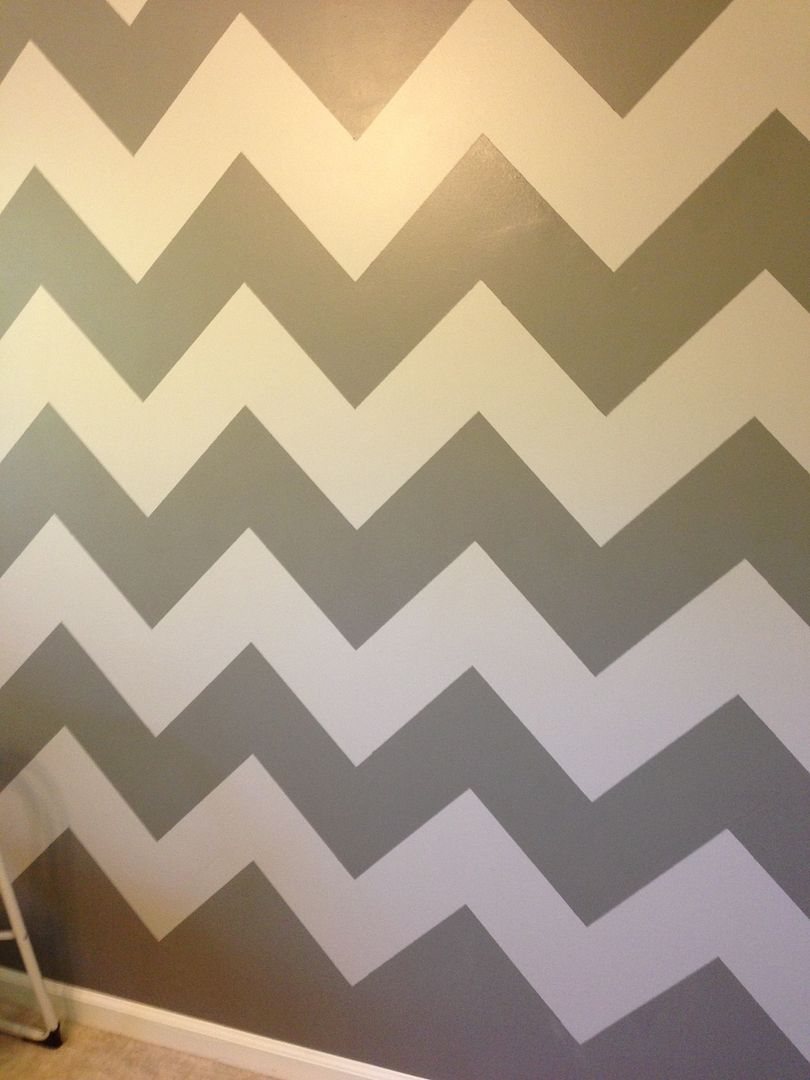
Last weekend Tolar and I finally had a free Saturday to do
projects around the house and we decided to tackle the chevron wall in baby
girl’s nursery and I am quite happy with the finished product! I taped the wall
and Tolar painted. We make a pretty good team.
I still have some items to get for the nursery (the bedding
should be here very soon), so I’ll do a full reveal of the nursery here on the
blog at a later date. But for now, everyone can enjoy how we painted the
chevron wall.
To start with, I did a bit of internet searching to gain
some tips from others who have done a similar wall. I used this post from The Chronicles of Ruthie Hart and this post from Project Nursery. Both sites had
different ways of prepping the wall/pattern so I used a few tips from each plus
some creativity from yours truly.
1: Determine what
kind of chevron you would like. How wide and how long do you want the stripes?
I didn’t want anything too big and bold, so I first decided on 8 inch stripes,
however after discovering my secret weapon (below) my measurements turned into
8 and a half inch stripes.
2: Gather your
supplies. I originally gathered more supplies than I needed. I only ended up
using five items:
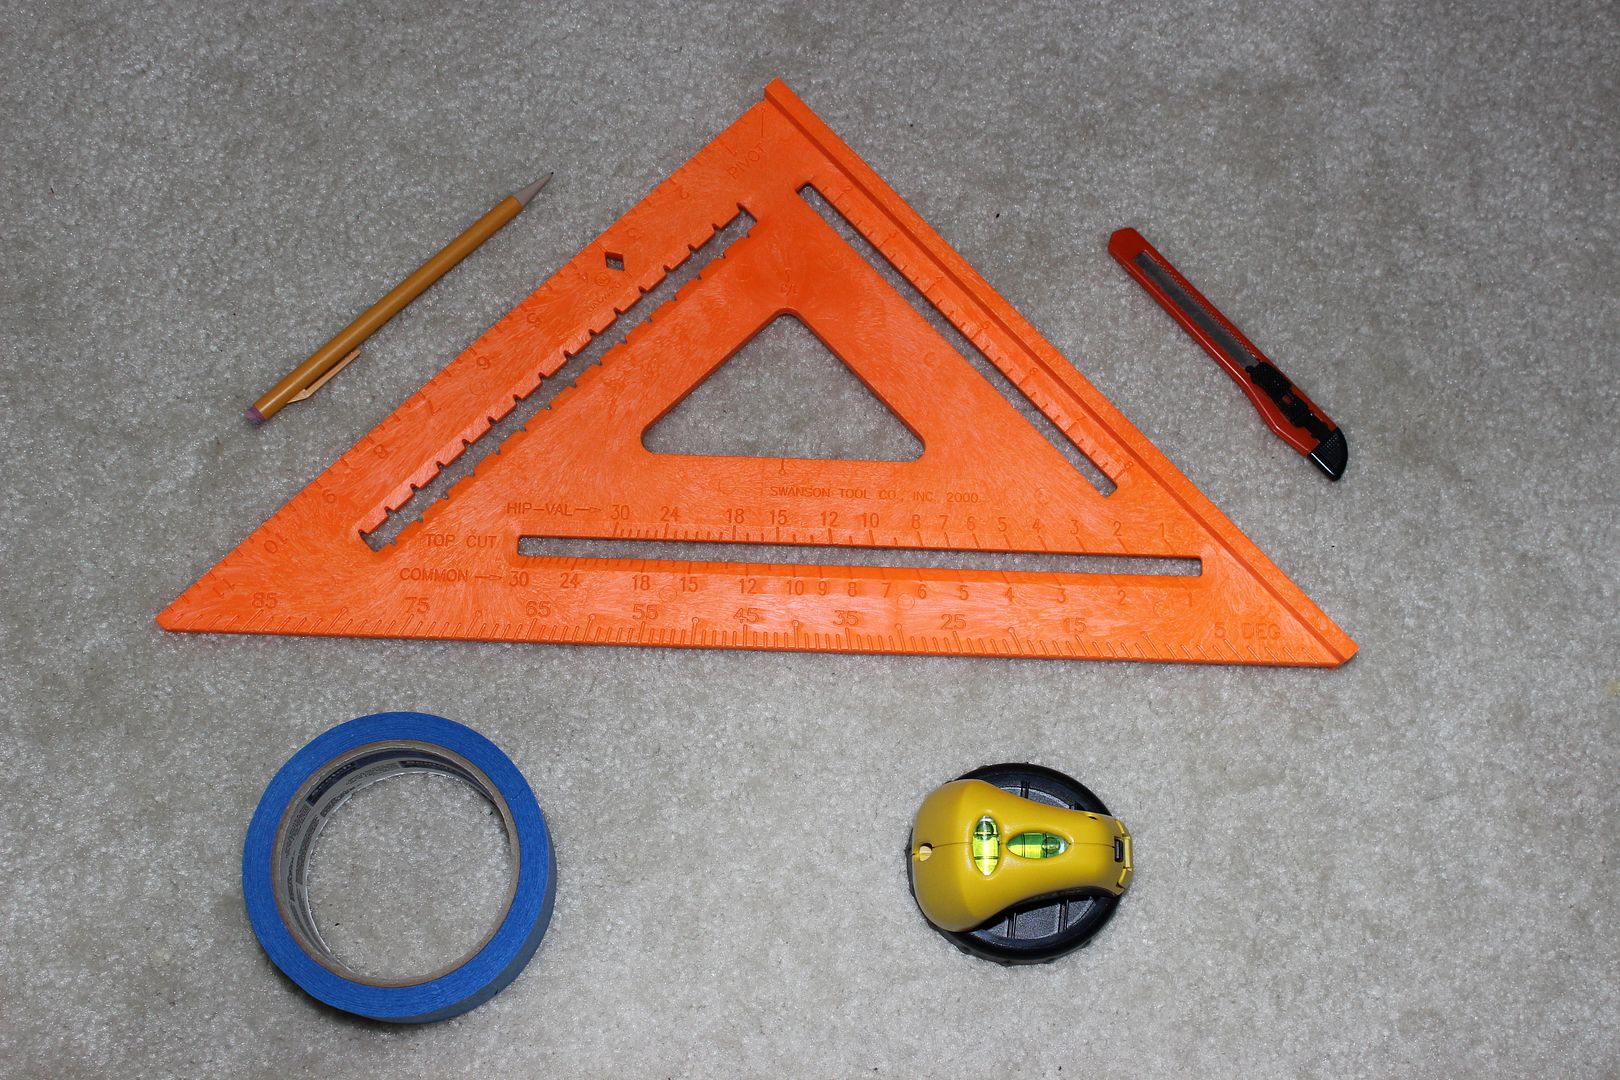
Pencil
Angle Square (don’t let the name fool you, it’s definitely a triangle – and this was my SECRET WEAPON)
Retractable Knife
Painter’s Tape
Laser Level
Angle Square (don’t let the name fool you, it’s definitely a triangle – and this was my SECRET WEAPON)
Retractable Knife
Painter’s Tape
Laser Level
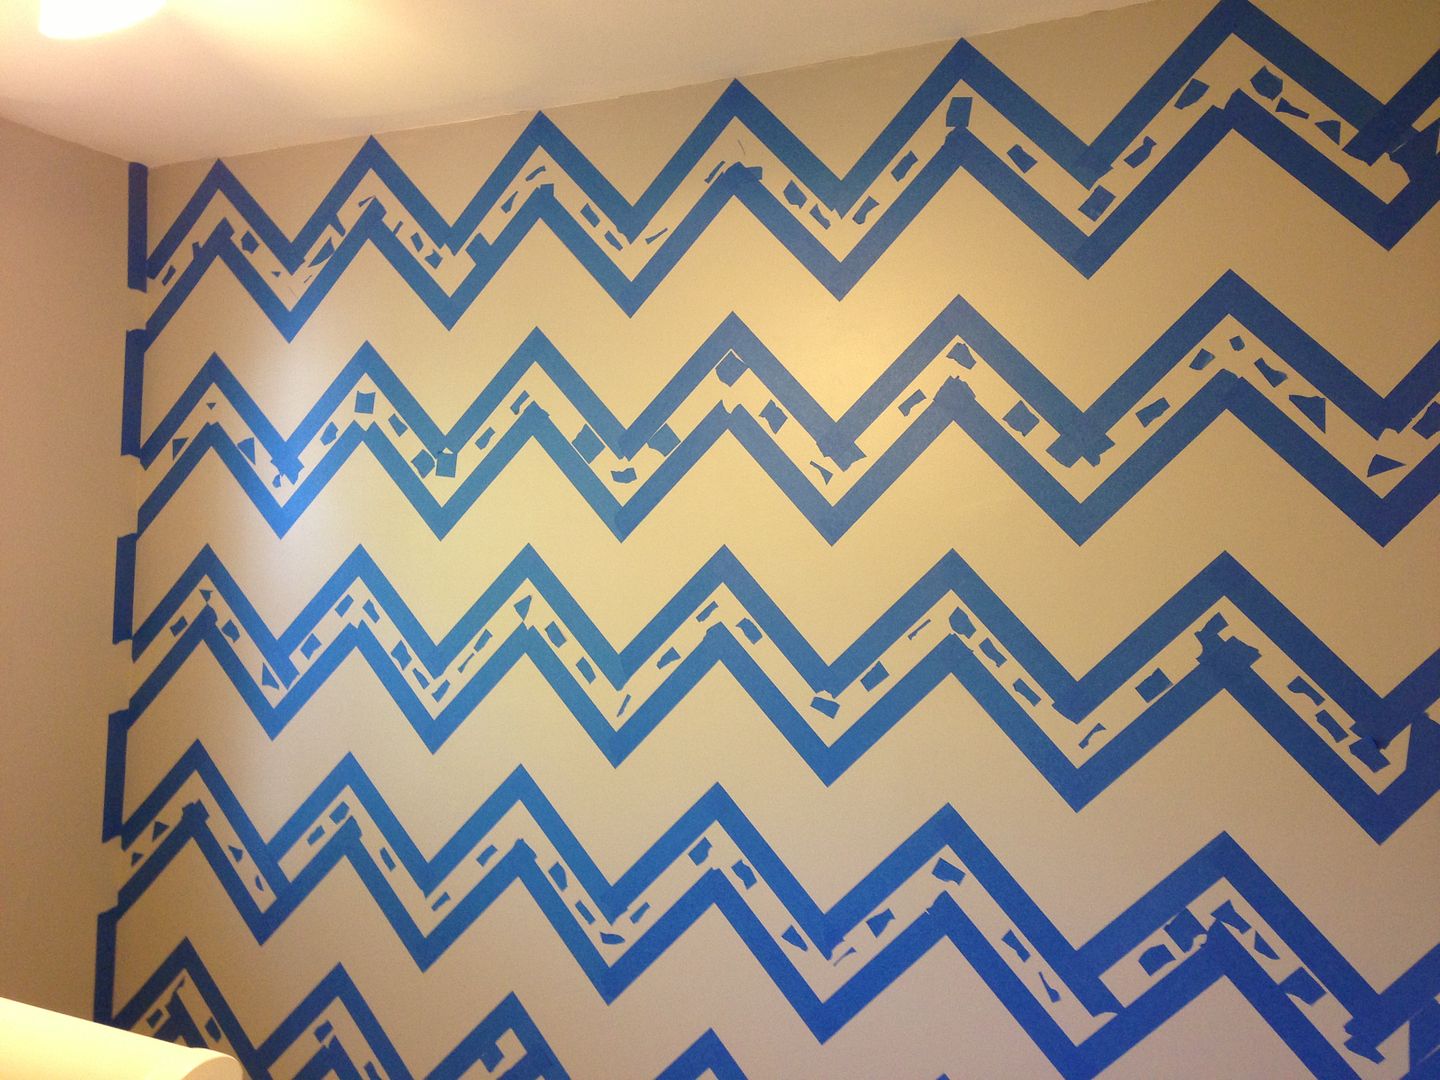
3: I started in
the top left corner of the wall, that way I could get the angles all straight
and level with the ceiling. I simply placed my angle square against the wall,
made sure it was level by using my laser level and then TRACED the top two triangle
portions of the angle square with a pencil. After I traced my first triangle, I
applied some painter’s tape to the INSIDE of the traced lines. (NOTE: We had
already painted the entire wall a light grey, so we only had to paint one color
of darker grey in every other line)
4: I then traced
triangles right next to each other and taped off the entire top row, so I had a
guide for the rest of the wall. I did make sure the bottom of the angle square
was level before tracing every single time.
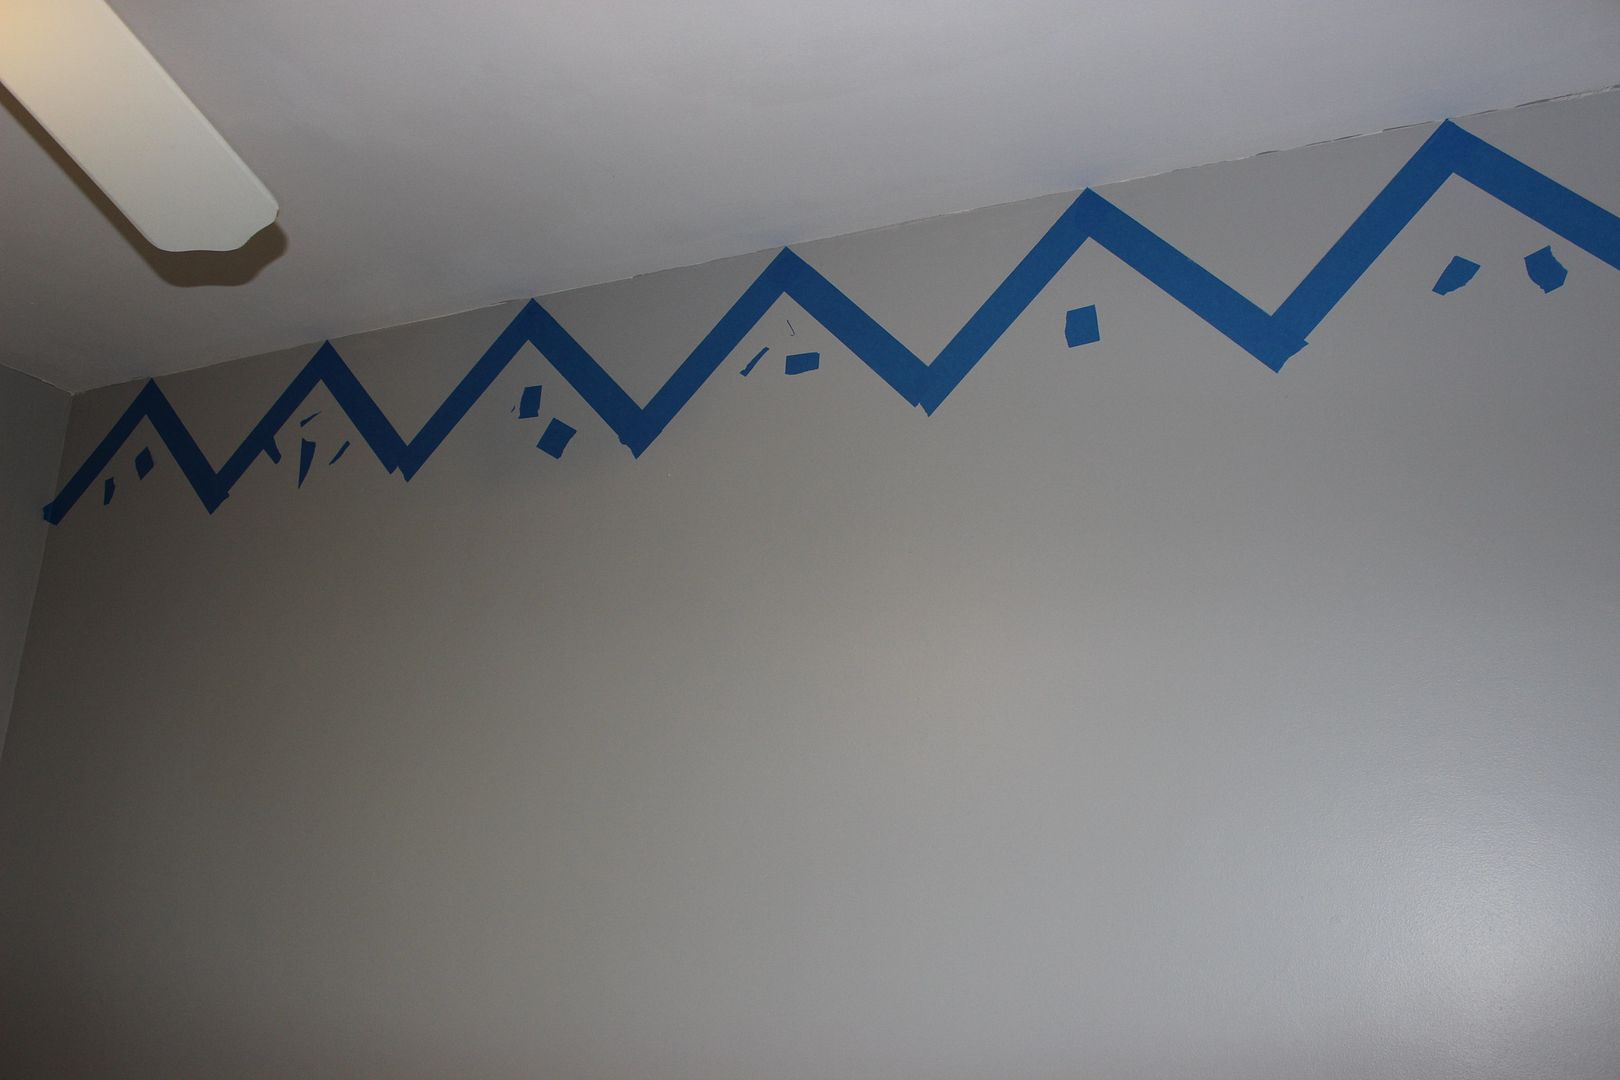
5: To get the
points perfect, I used my retractable knife to cut the excess tape. A great tip
that I learned from The Chronicles of Ruthie Hart is to place the excess pieces
of tape inside the portion of the wall you don’t want painted. That was Tolar’s
“do not paint zone.” Trust me, with all of the zig zags, it can get quite
confusing where you should paint. So having the excess tape sprinkled
throughout the wall really helped him know where he should paint.
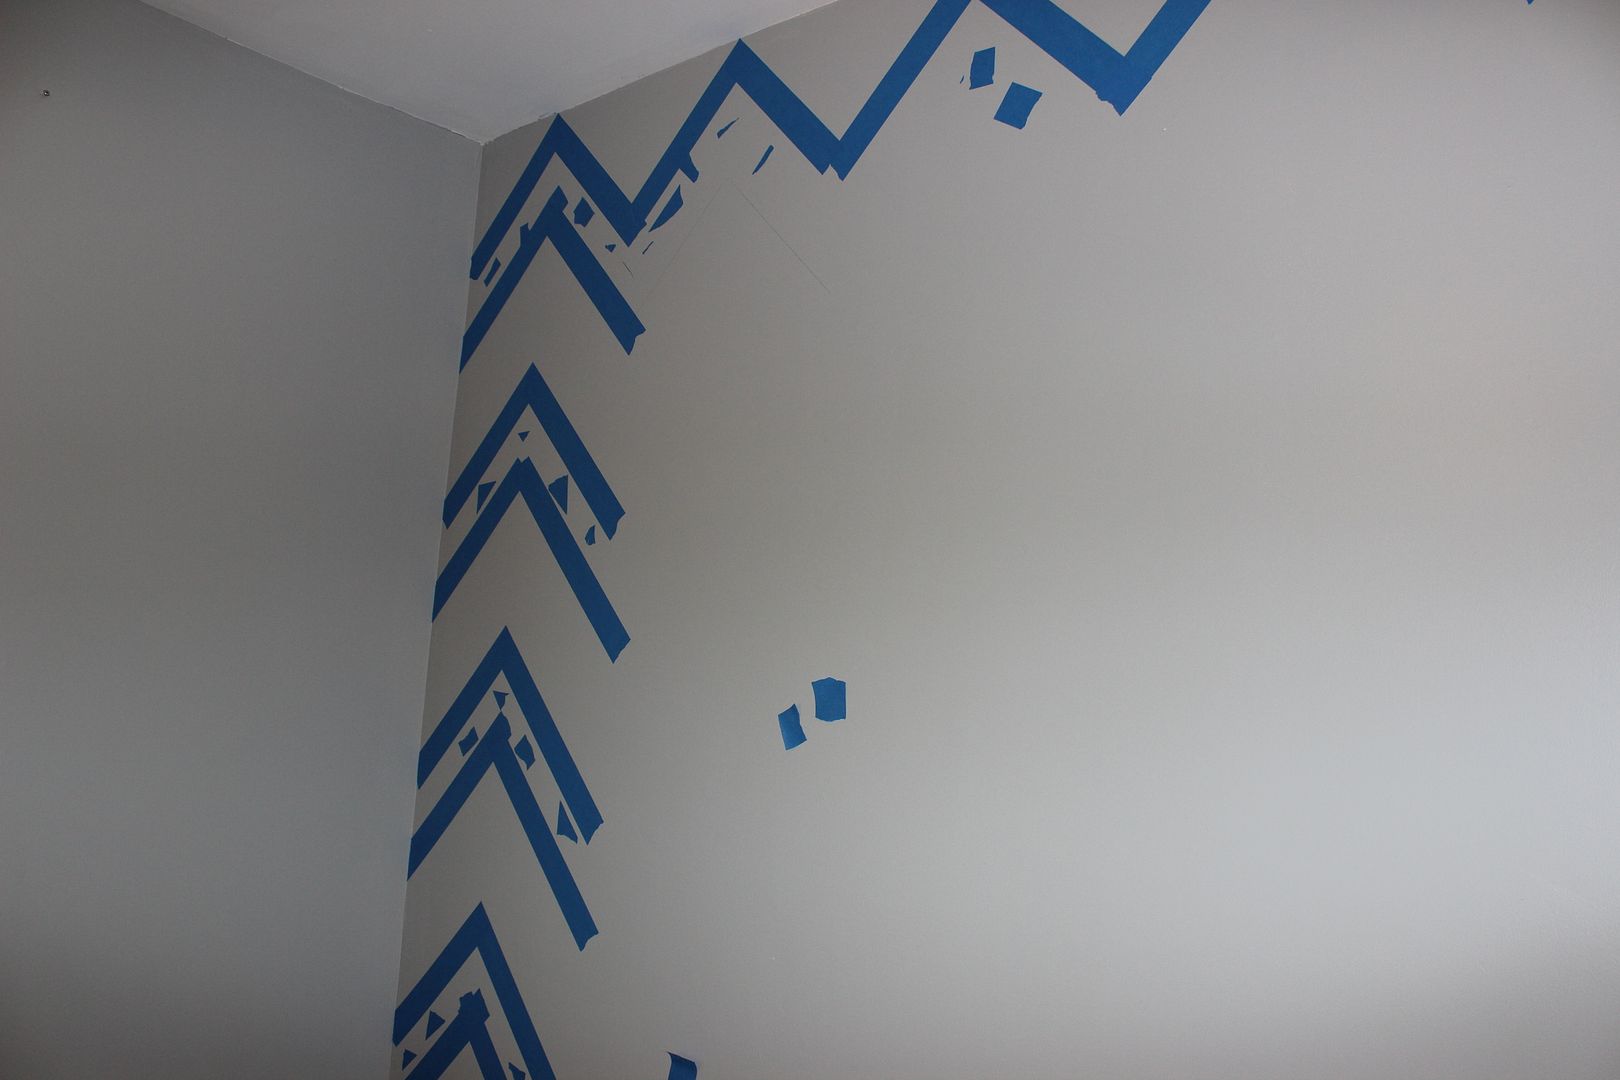
6: So once I had
the entire top row all traced and taped, I decided to come back to the left
side of the wall and tape all the way down. I found it easiest to measure and
trace everything first then go back and tape. That way I didn’t have to shuffle
five different items at once. I simply placed my angle square back in the lines already
traced and then put a dot below where the 45 degree mark was. The angle square
was 8 and a half inches wide, so that is where I found my measurement for how
wide the stripes would be.
7: So once the
taping was complete it was time for Tolar to paint. He applied two coats to
make sure everything was even. The colors we used were both Valspar: light grey
is Urban Sunrise and dark grey is Mark Twain House Ombra Gray.
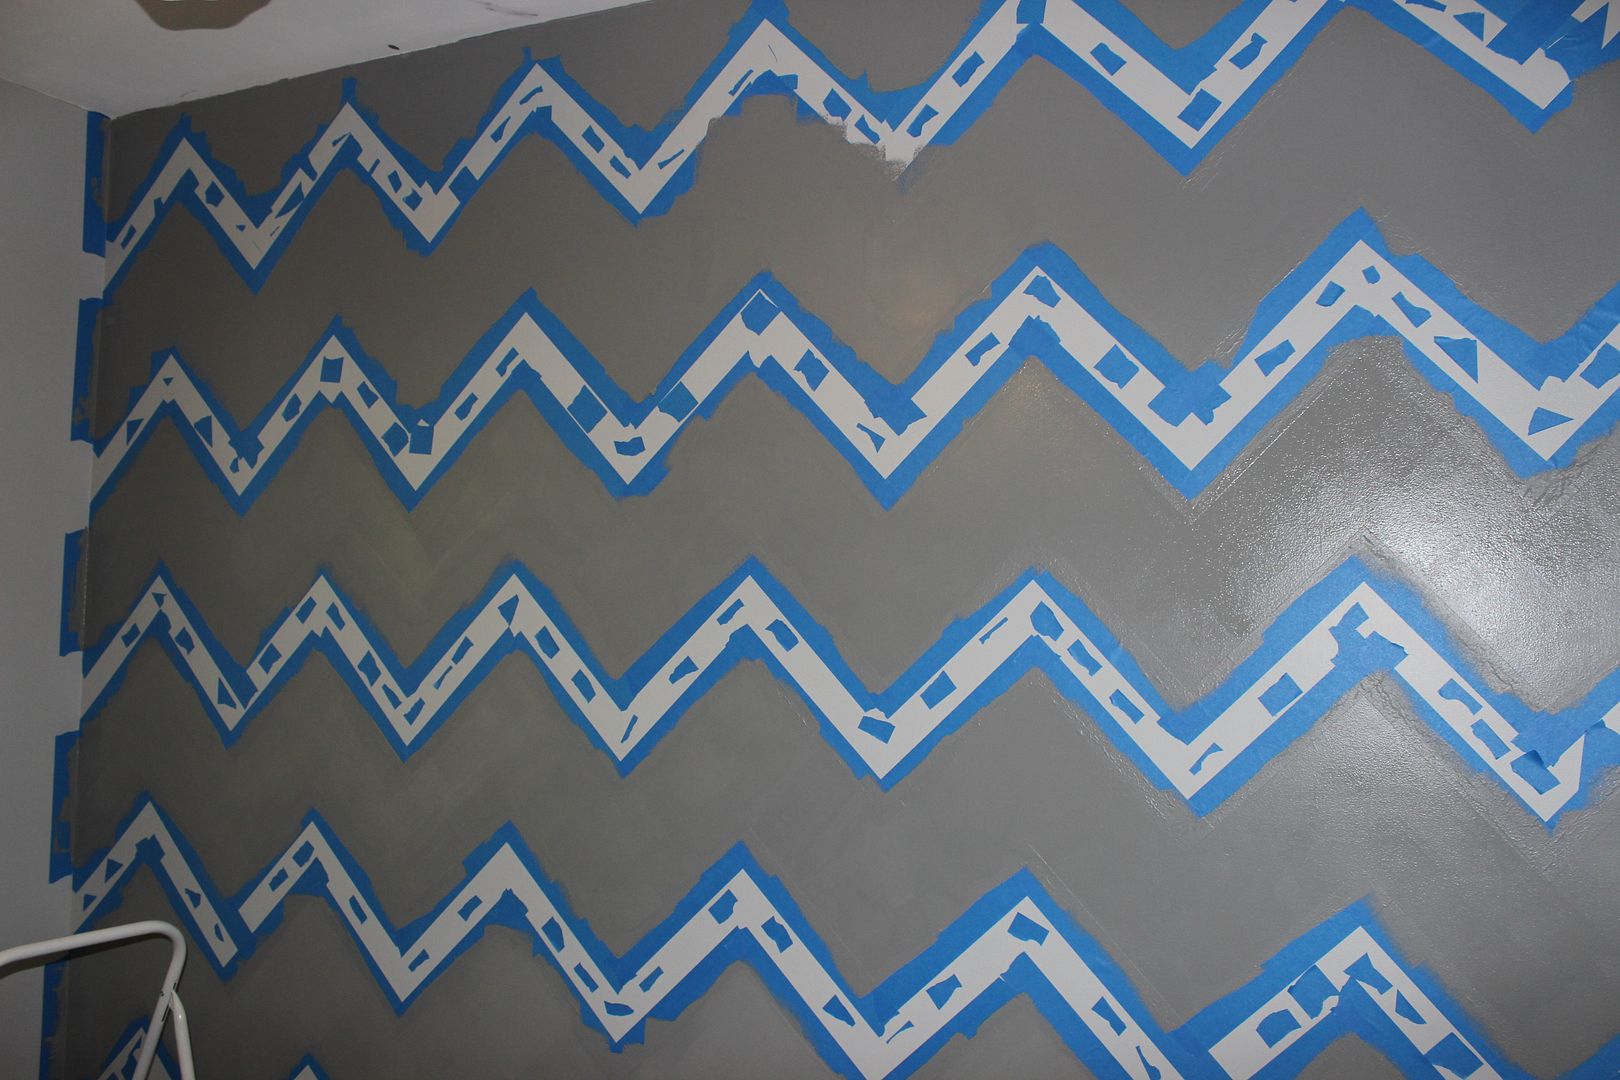
8: We only left
the tape on for a little while (maybe 8 minutes) after Tolar finished painting
because we didn’t want the paint to pull. So off came the tape and our master
piece was revealed. We had a few touch up places to fix, but other than that it
looked great!
Here are a few tips that I learned through the process:
-Be prepared to have a full morning available. The taping took me almost 4 hours to complete. If you had someone to trace and someone to tape, it would take less time. But I must admit, I was honestly shocked when I realized almost 4 hours had passed – it didn’t feel like that long.
-Be prepared to have a full morning available. The taping took me almost 4 hours to complete. If you had someone to trace and someone to tape, it would take less time. But I must admit, I was honestly shocked when I realized almost 4 hours had passed – it didn’t feel like that long.
-If you are perfectionist like me, you must abandon some of
your qualities at the door. Yes, I made sure everything was level and straight,
but there were some pieces of tape that I didn’t get cut perfectly. However,
with the chevron pattern you sure can’t tell. It’s like an optical illusion.
-Give yourself a do not paint zone, that way your painting
will be completed quickly without having to figure out if you are supposed to
paint a certain line or not.
-Use a smaller paint roller if you have smaller chevron
widths. With 8 and a half inches, we definitely needed the small roller.
-Tracing my angle square was a huge time saver and didn’t
cause me any stress trying to figure out how to measure. I used a pencil so I
could erase the marks, but with the dark grey color, the paint went right over
the pencil.
So there you have it! A simple tutorial that took only one
Saturday morning to complete. If you have any questions, please leave them in
the comments section below. I’d be happy to answer them.
And stay tuned, the nursery reveal will appear on Pursuit of Pink as soon as I have everything complete!


It looks fantastic! That angle square is GENIUS!! I can't show Jon lol!
ReplyDeleteoh my gosh this is AMAZING!! y'all do make a great team!
ReplyDeleteLooks great!
ReplyDeleteThat looks amazing! Good job!
ReplyDeleteThis turned out awesome!
ReplyDeleteI'm dying for a chevron laundry room! Love the tutorial :)
ReplyDeletelooks fabulous! Lucky little girl you have there!
ReplyDeleteIt looks so good! I can't wait to have my own home so I can do things like this. :-)
ReplyDeleteThe finished wall looks AMAZING! I've always wanted to do this after doing this on some boards that hang in a series on our living room wall. Pinning this now!
ReplyDeleteValerie
www.the-style-files.com
What a great way of doing a chevron wall!!! It actually makes me want to try it now. Before I thought it was much work, but this way seems a lot more manageable!
ReplyDeleteAbsolutely gorgeous, Lindsay! You guys did an amazing job. :) Pinky will surely have the most stylish nursery on the block. ;)
ReplyDelete