
The nursery is almost complete, I’m waiting on just a few items to arrive at my house and then I can show you the final reveal. But until then, I have a little tutorial for you on how I created labels to try and keep the nursery organized. We have been VERY blessed to have been given so many wonderful items for our little girl, it’s like the room and closet are exploding at the seams. I need to be able to keep it all straight – enter my love for baskets and organizing.
In addition to the many pieces of clothing that fill our little girl’s closet, I needed to find a way to store all of her socks, bibs, headbands, hats, blankets and more! With only one chest of three drawers in the room, I had to get creative. So I purchased some black baskets from Bed, Bath and Beyond and filled them with all of the goodies that we need for our little princess. Then to be able to identify the contents of each basket, I created these fun labels.
Here are the items I used:
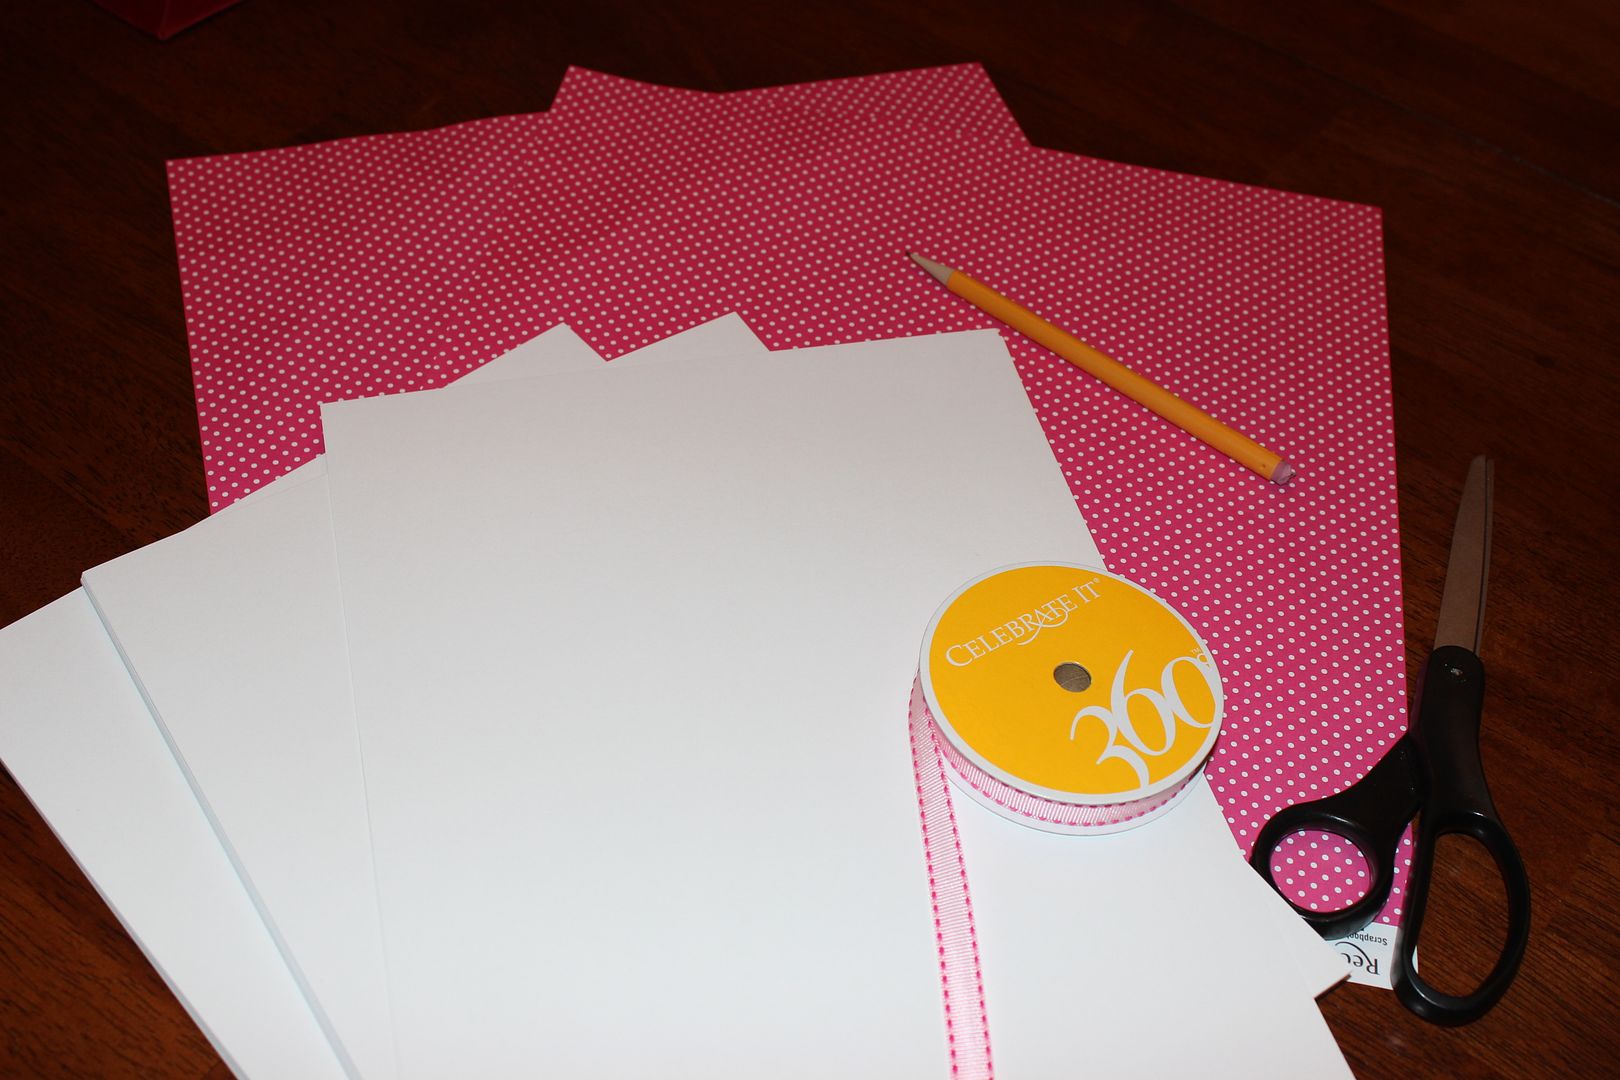
-white card stock
-pink/white polka dot scrap book paper
-pink ribbon
-glue
-sharpie
-circular items to trace
-pencil
-scissors
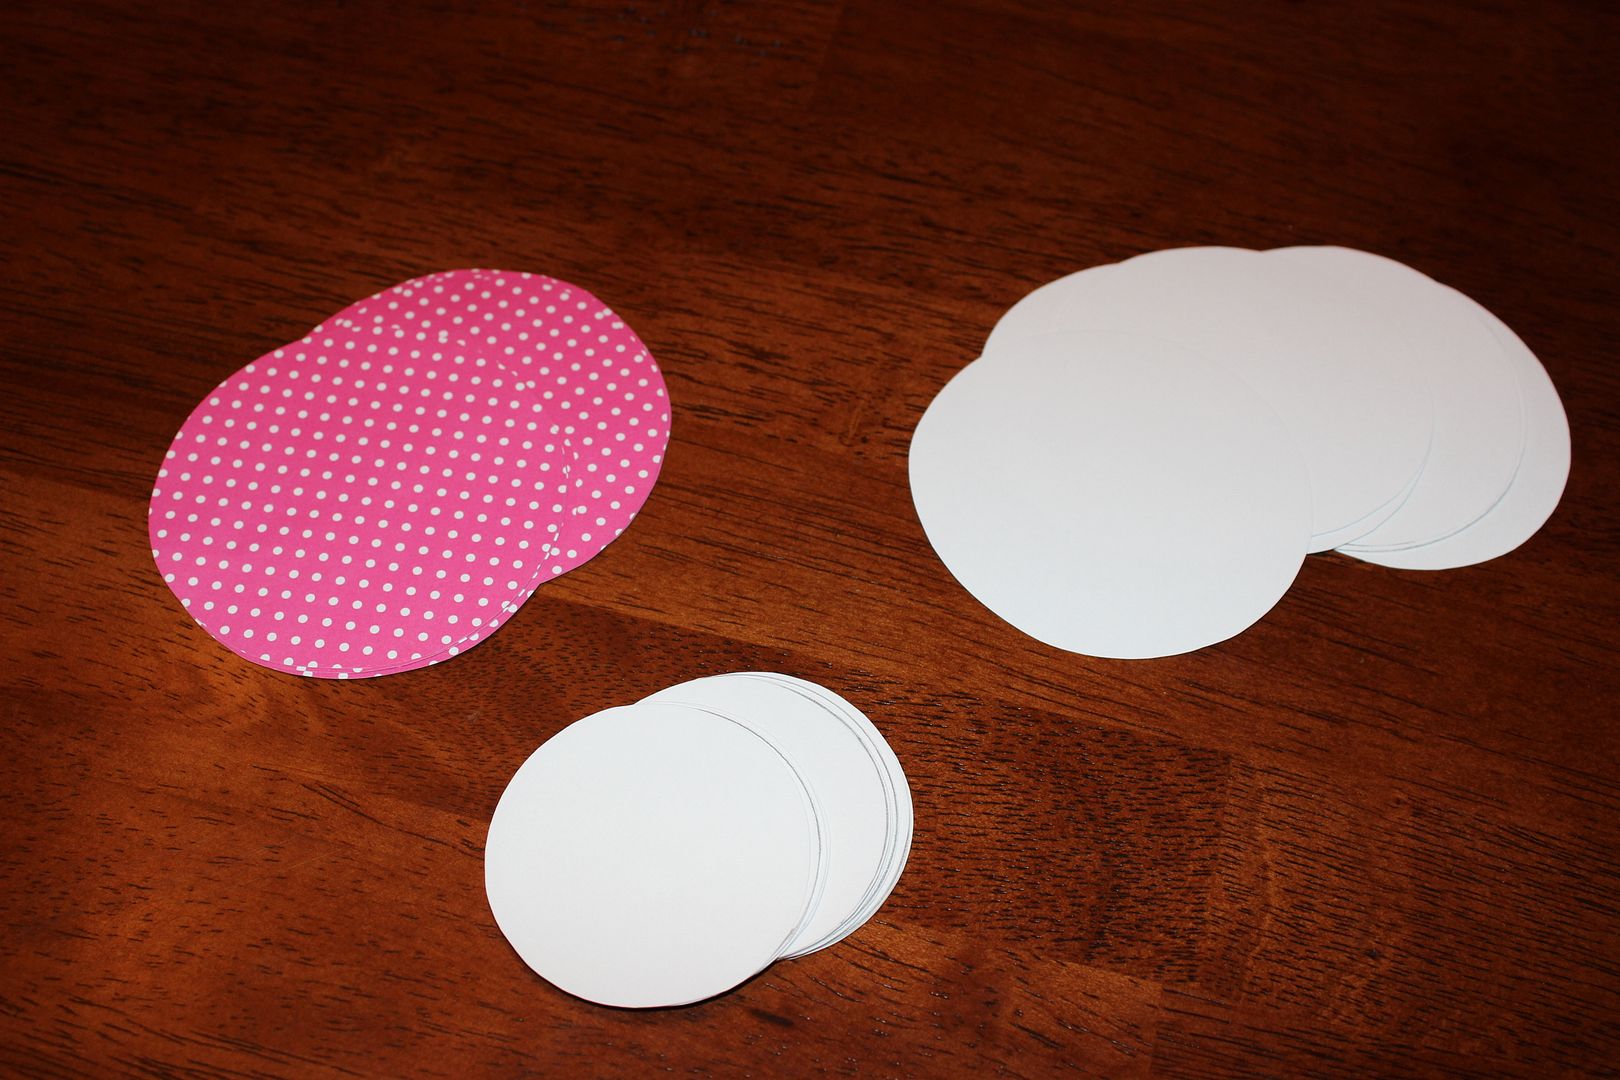
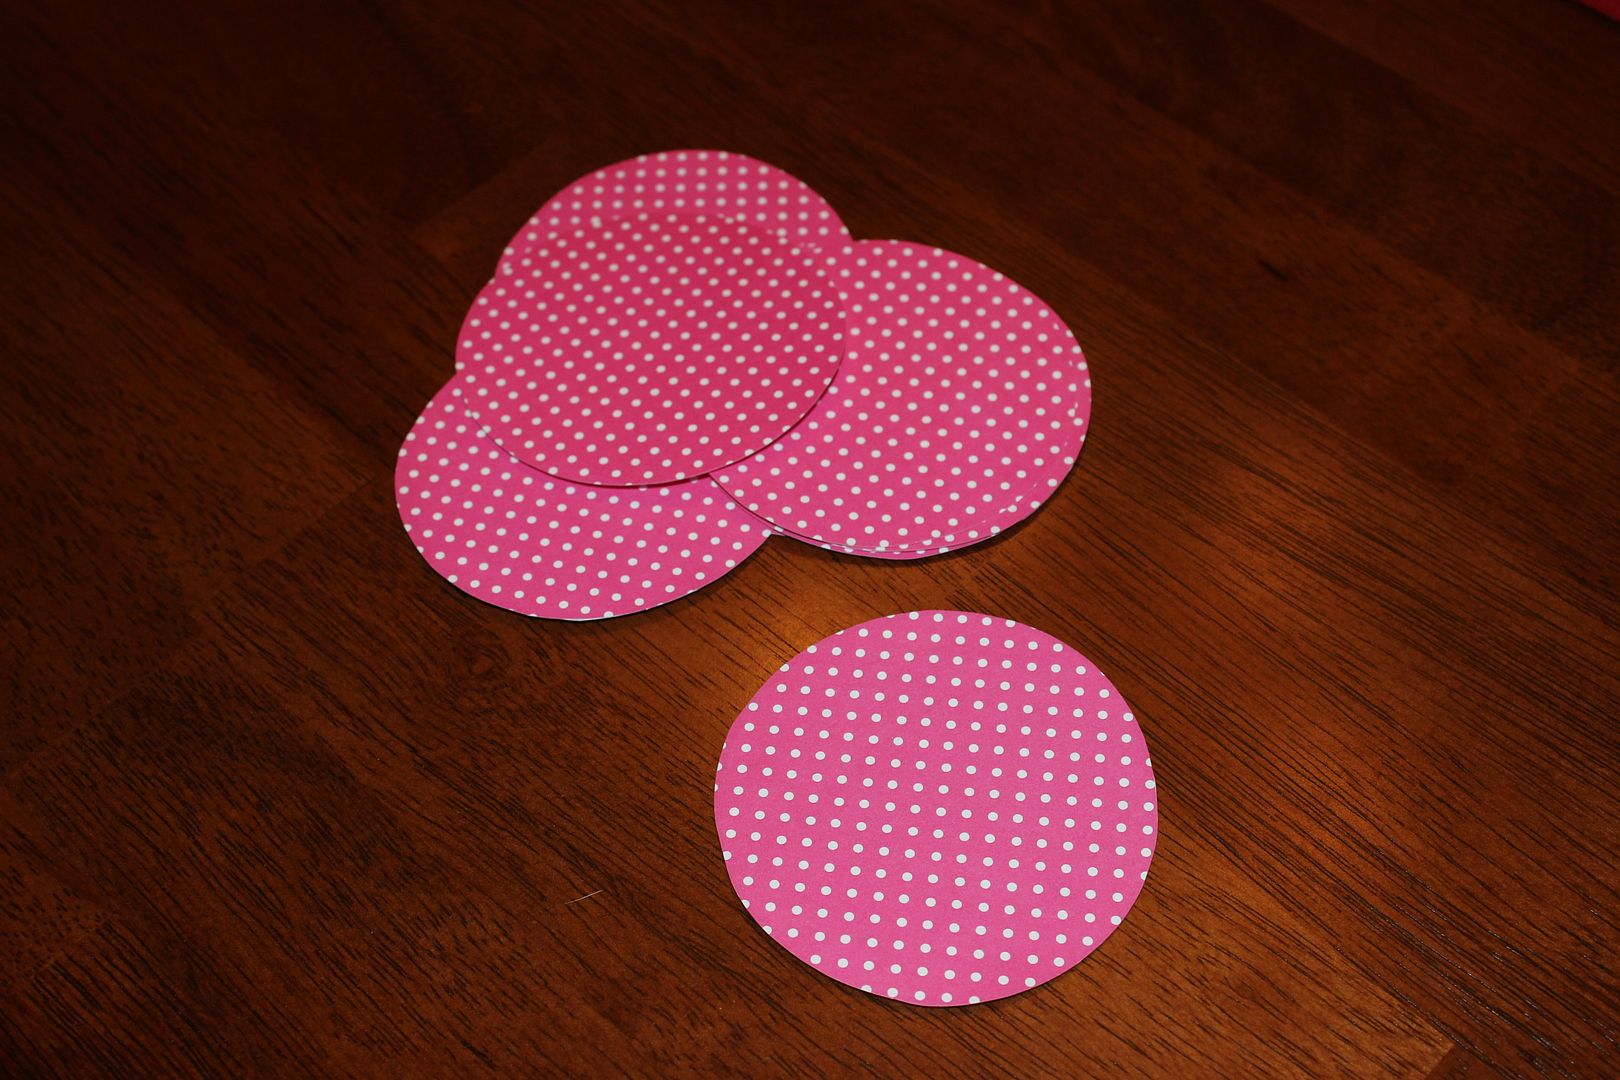
1.) I started by deciding how large I wanted my labels and I found some circular items in my house that I could use to trace - the bottom of a glade candle worked wonders! I just placed the candle on my paper and traced multiple circles.
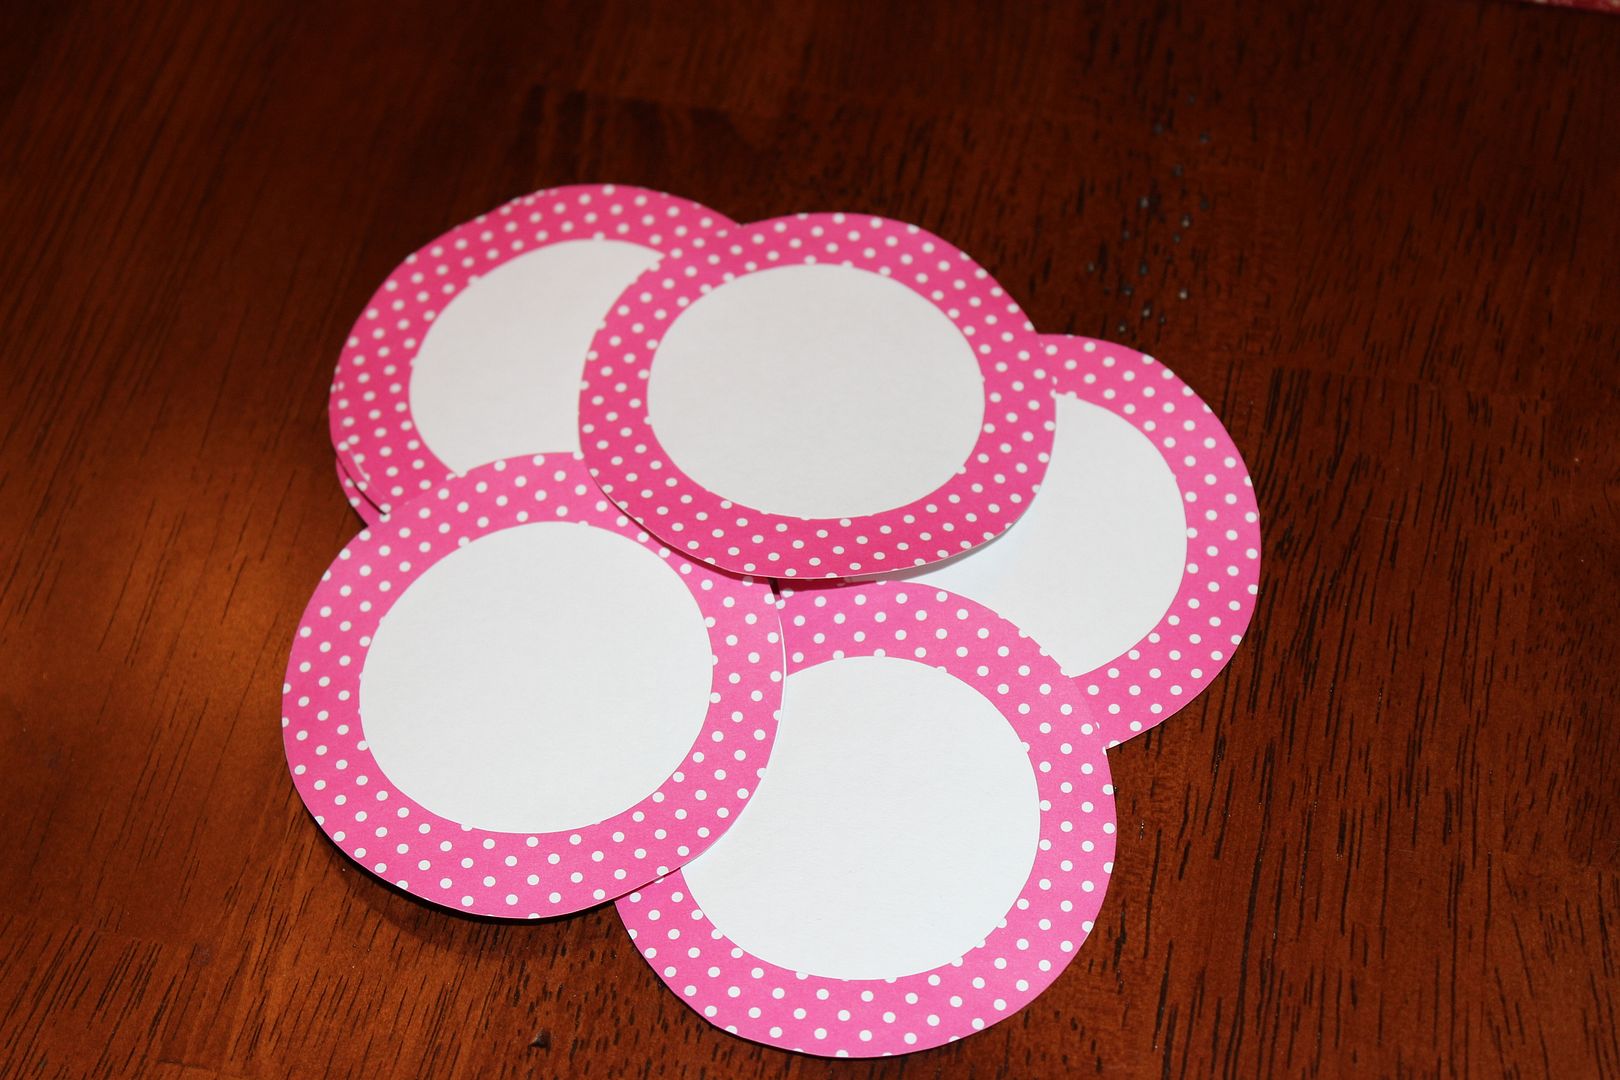
2.) Since scrap book paper by itself isn’t that strong, I traced the same size circles in both the pink/white polka dot paper and the white card stock. This way the card stock could help keep the labels lasting longer without ripping or tearing. Once my circles were traced, I cut everything out. I also traced a smaller sized circle on the white card stock to use for the labeling area.
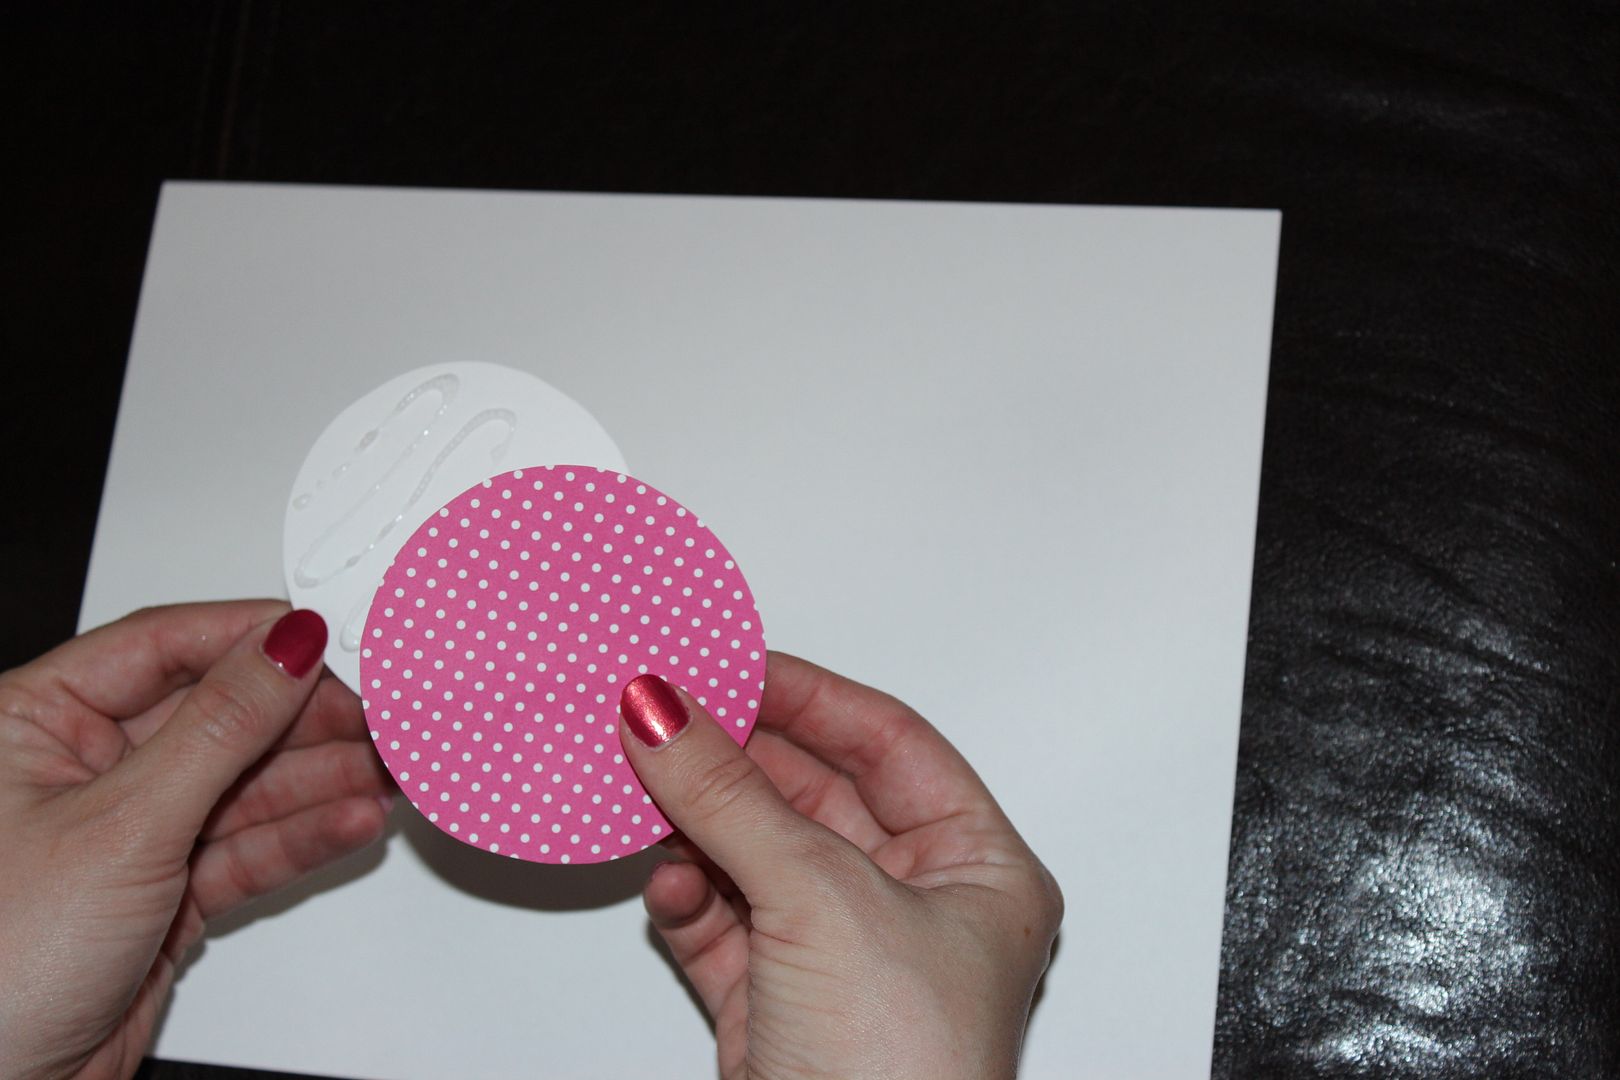
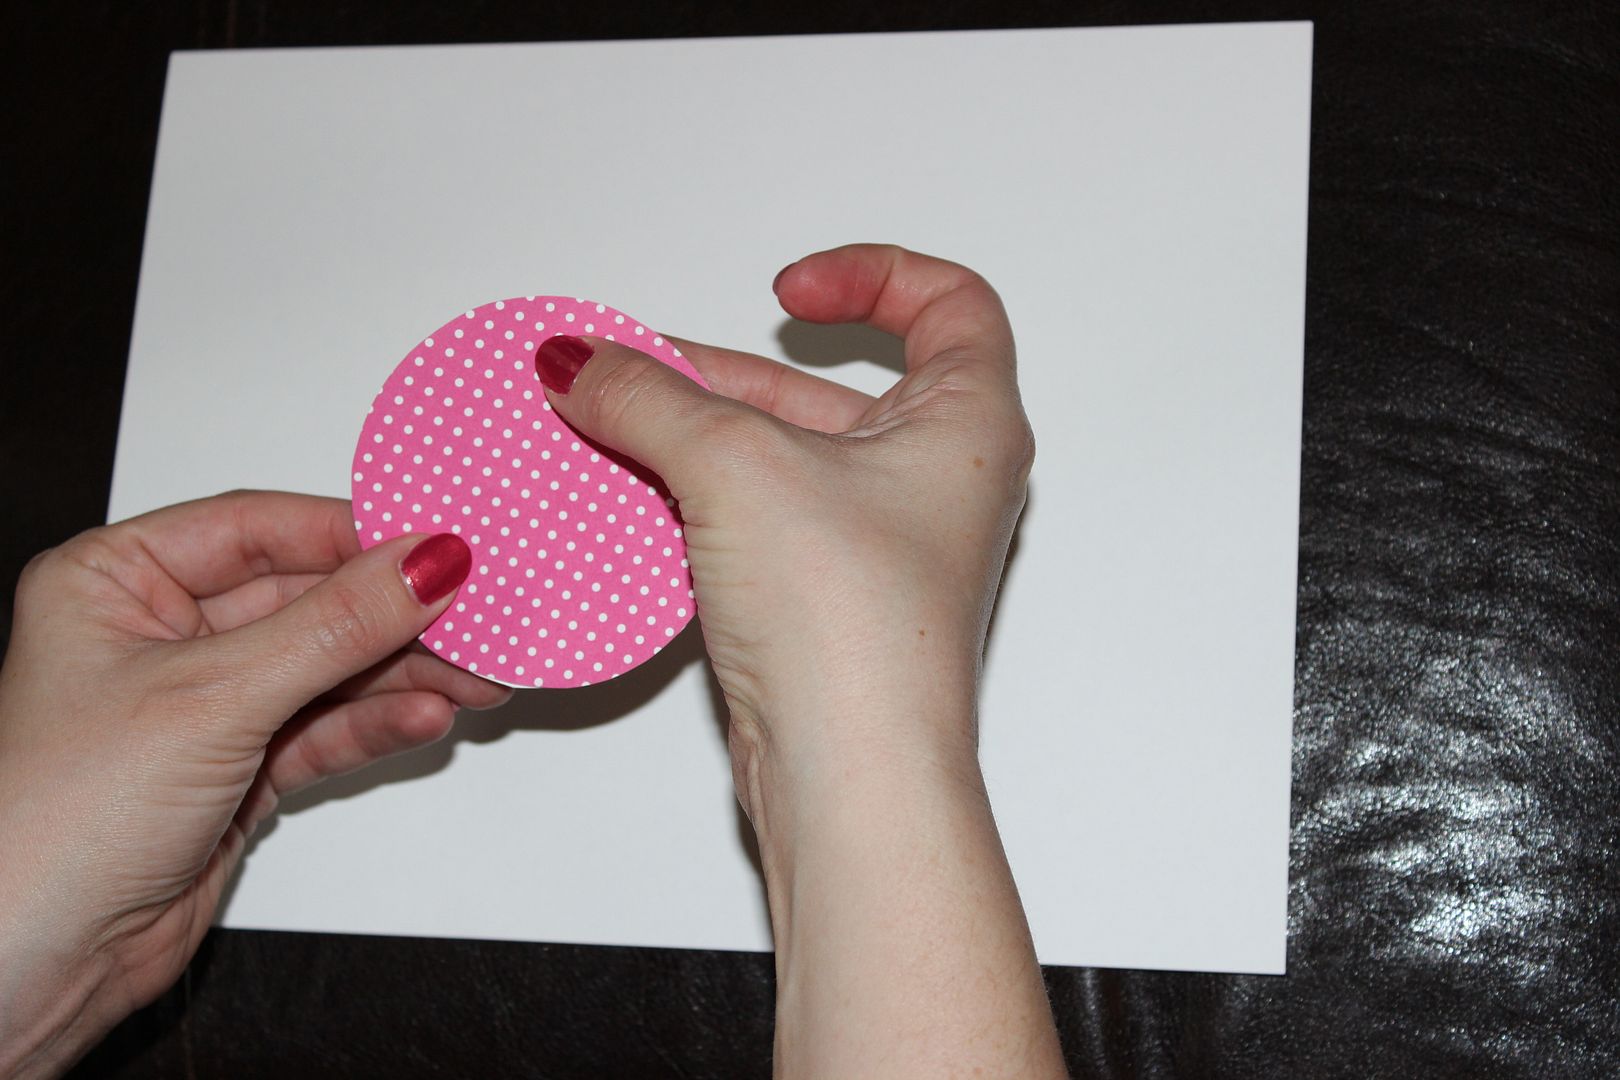
3.) I then glued the large circles together, followed by gluing the smaller circles in the middle. I let them dry while placing them under a heavy object to make sure everything stuck together (and to keep everything flat).
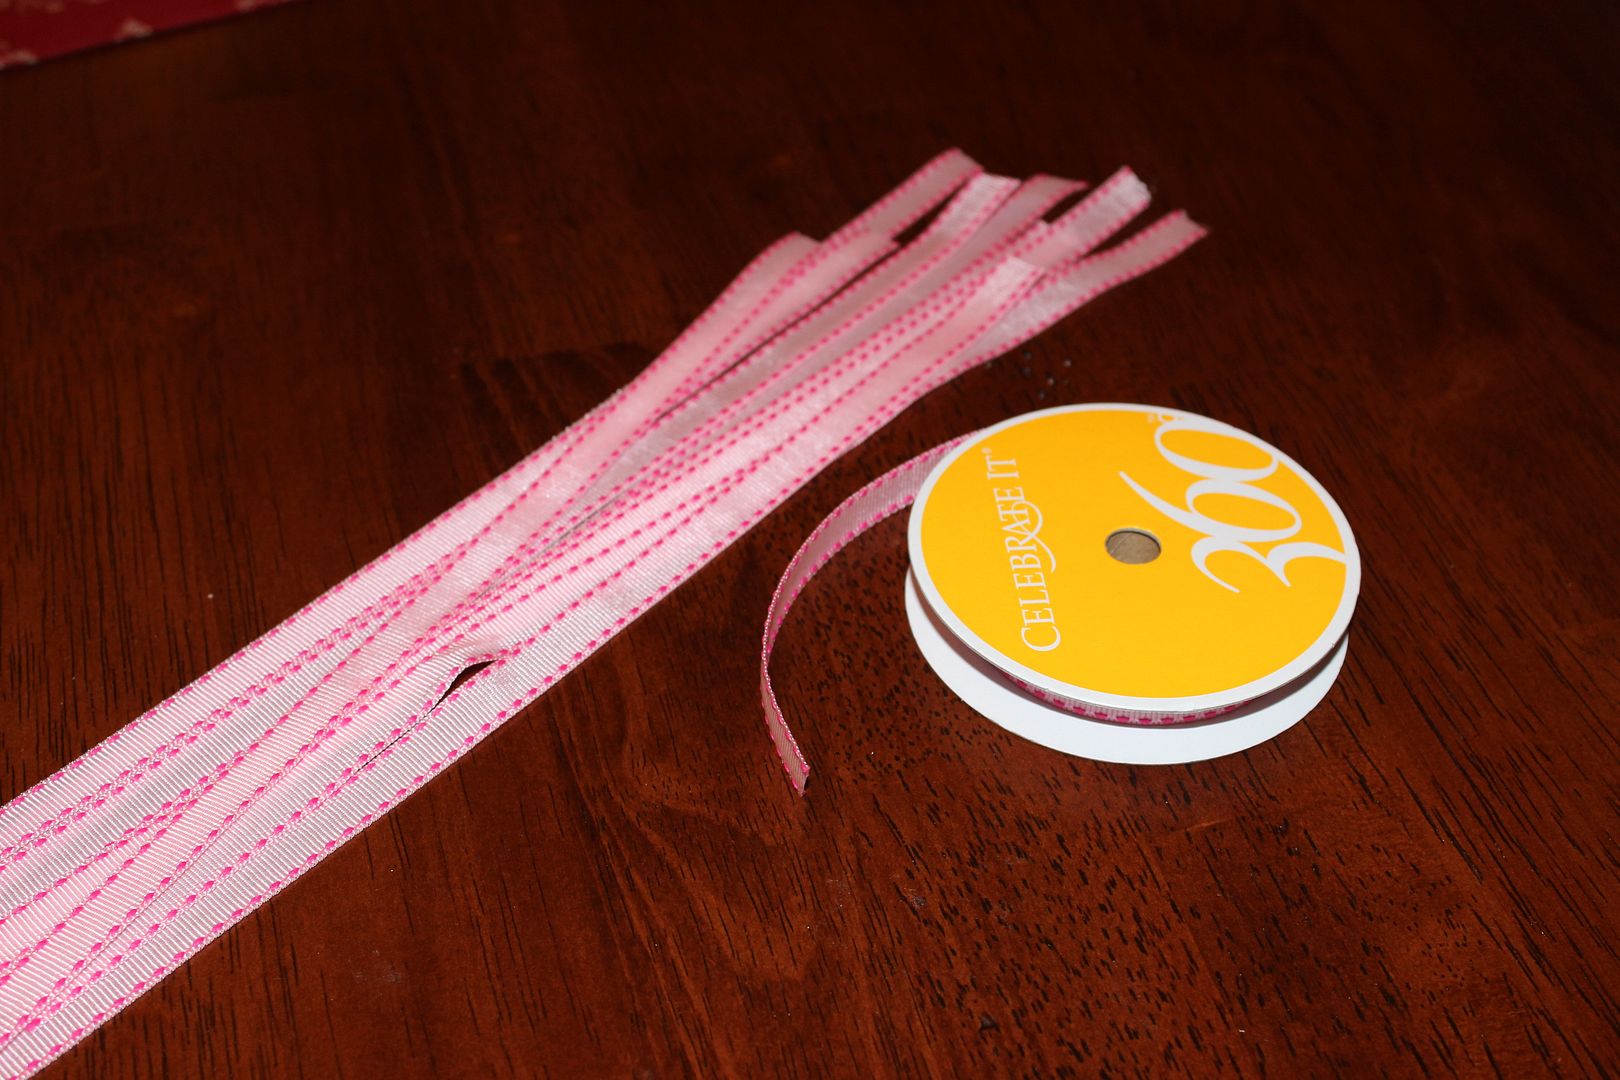
4.) Next I determined where I wanted the labels to fall on the baskets and cut my ribbon for the appropriate length.
5.) Using a single hole punch, I punched an oversized/double hole in each label so I could pull the ribbon through.
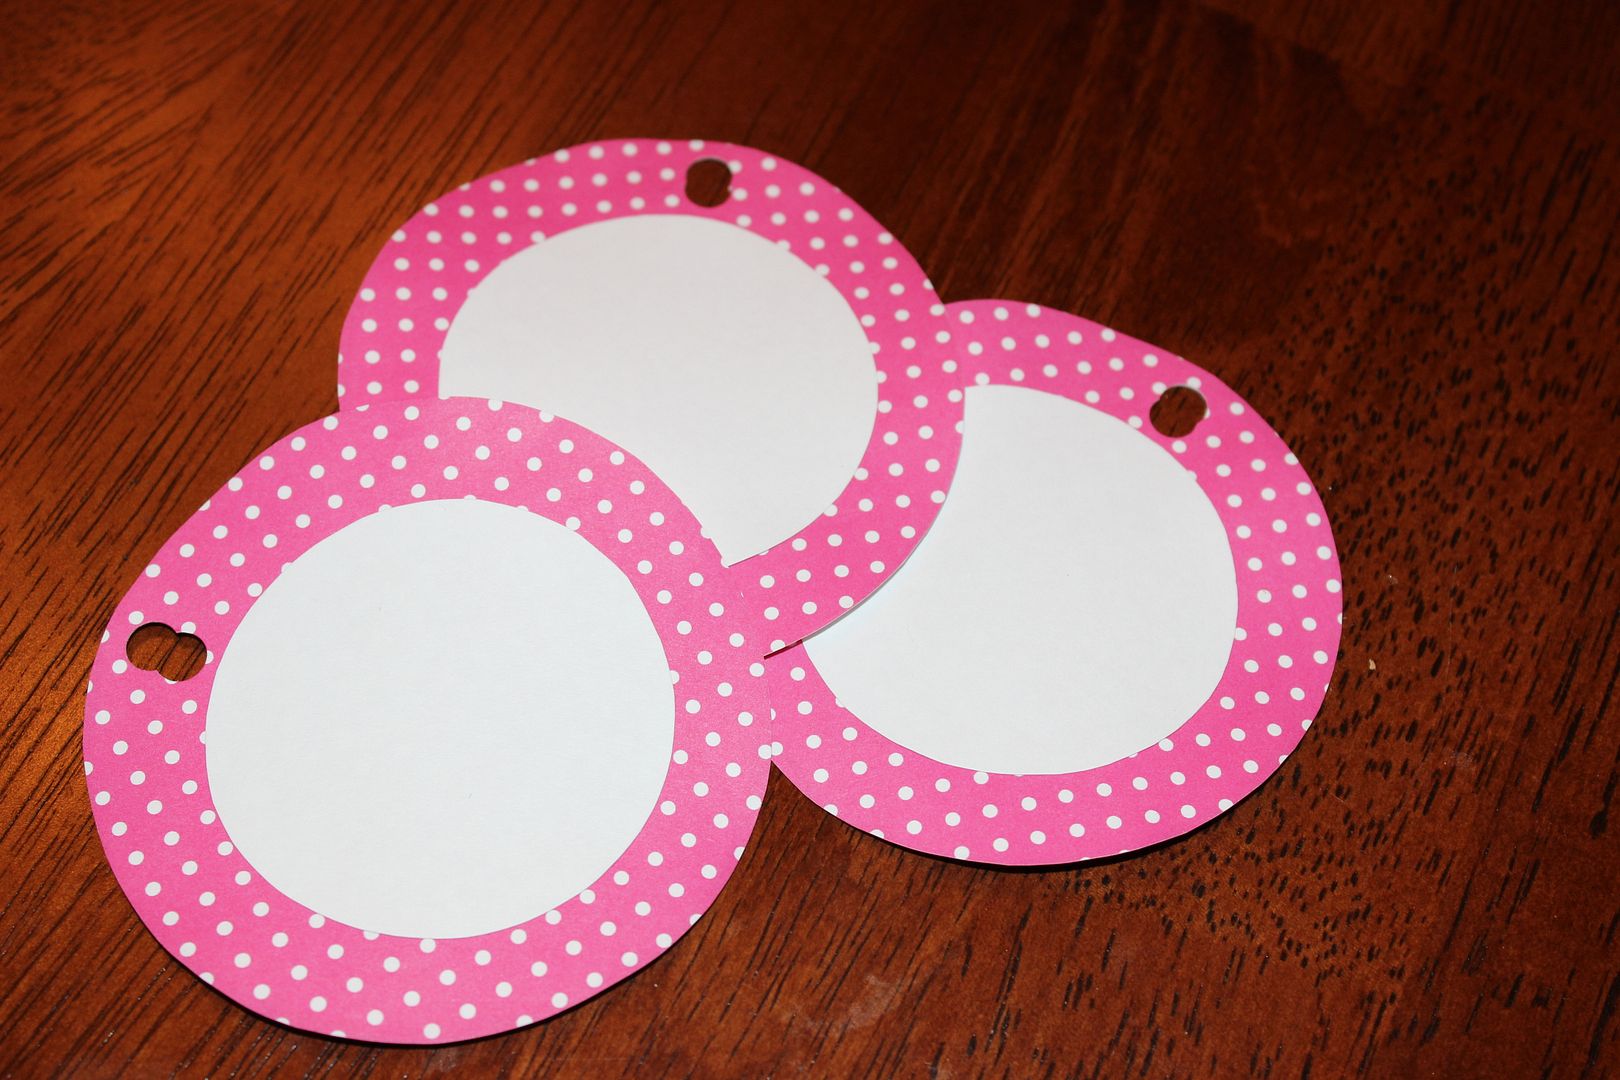
6.) Almost done – it was time to assign a category to each label.
7.) And finally, I tied the ribbons and labels to each basket so I can easily identify the contents.

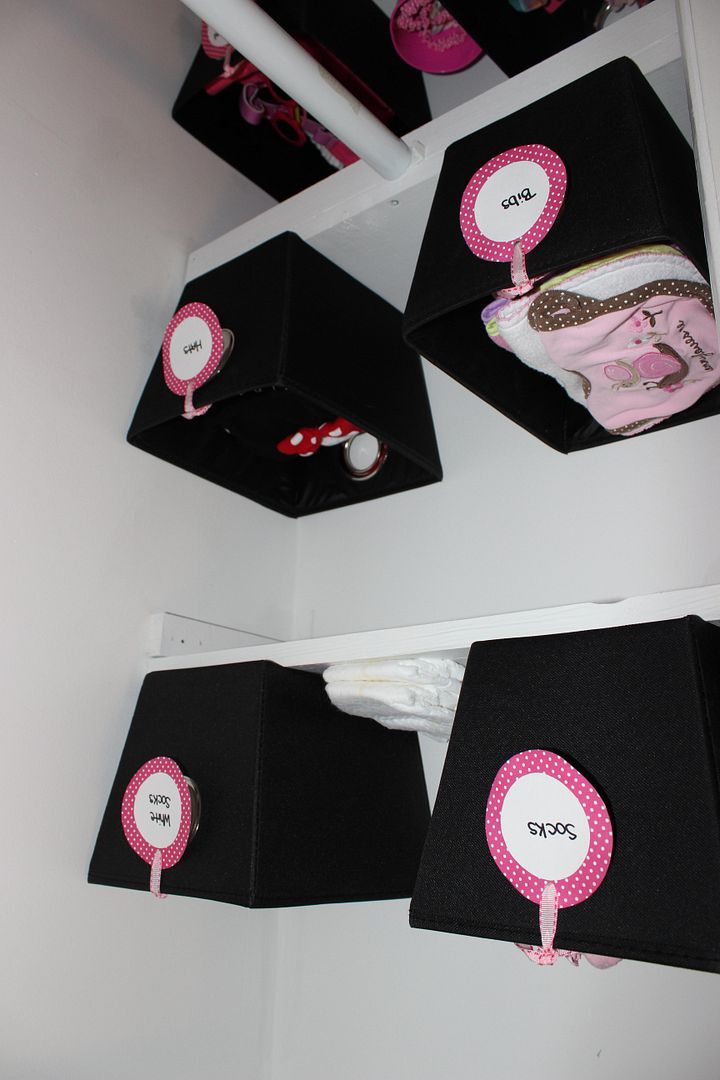
I thought this would also be helpful when other people are dressing or changing baby girl. That way they wouldn’t have to search for anything! This is just a simple how-to, but I’m very pleased with the results. An organized room makes me very happy.


those are so cute!! love how organized you are!:)
ReplyDeleteCute idea! I love it!
ReplyDeleteI love these, what a cute idea!
ReplyDeleteCarly
www.lipglossandcrayons.com
LOVE these! such a great, cute idea! can't wait to read more!!
ReplyDeleteHelene in Between
love this idea - definitely going to give it a go! xx
ReplyDeleteCome organize my place! haha. :) Super cute labels, I love it!
ReplyDelete