
Baby K is obsessed with Mickey Mouse and I couldn't be happier. My uncle works for Disney and I have always had Disney in my life, so I'm excited that K has accepted Mickey and Disney into her life with so much joy. :) I wouldn't have it any other way.
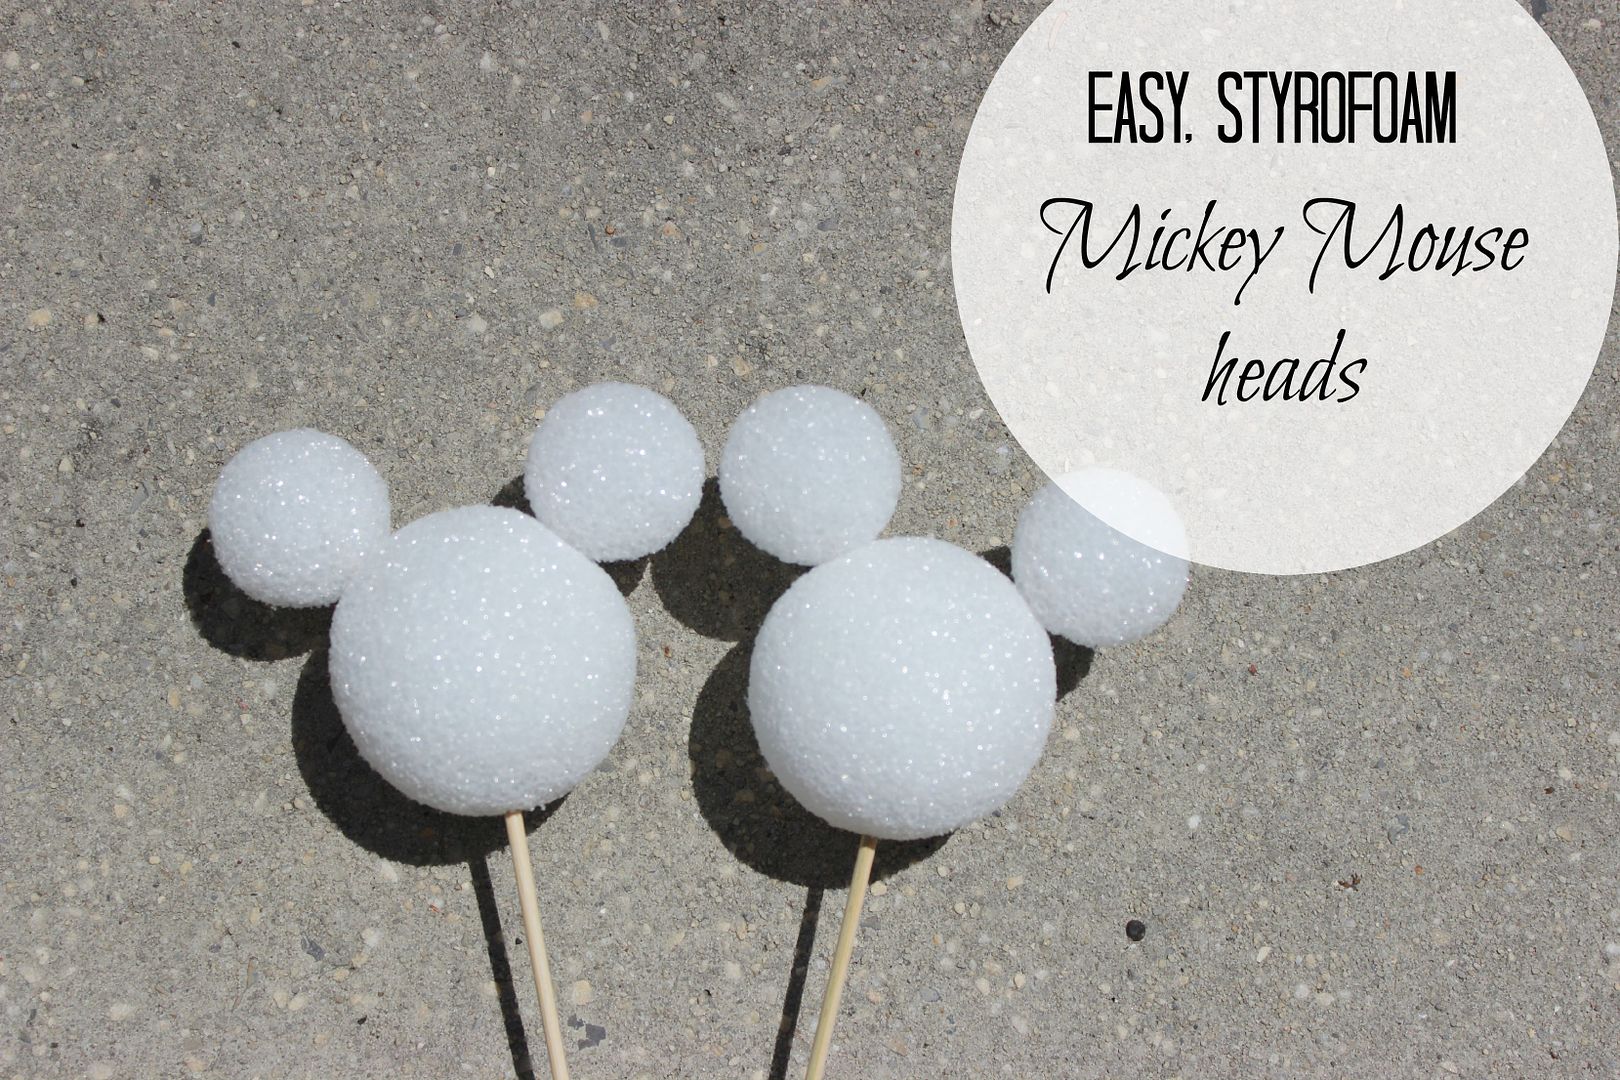
For her 2nd birthday, we threw a Mickey Mouse Clubhouse party (you can find details here) and I was so proud of myself when I created quite possibly the easiest and cutest craft ever. I made styrofoam Mickey Mouse heads and they turned out great. The best part? They only cost about $3 total to make!!!
Here are the supplies you will need:
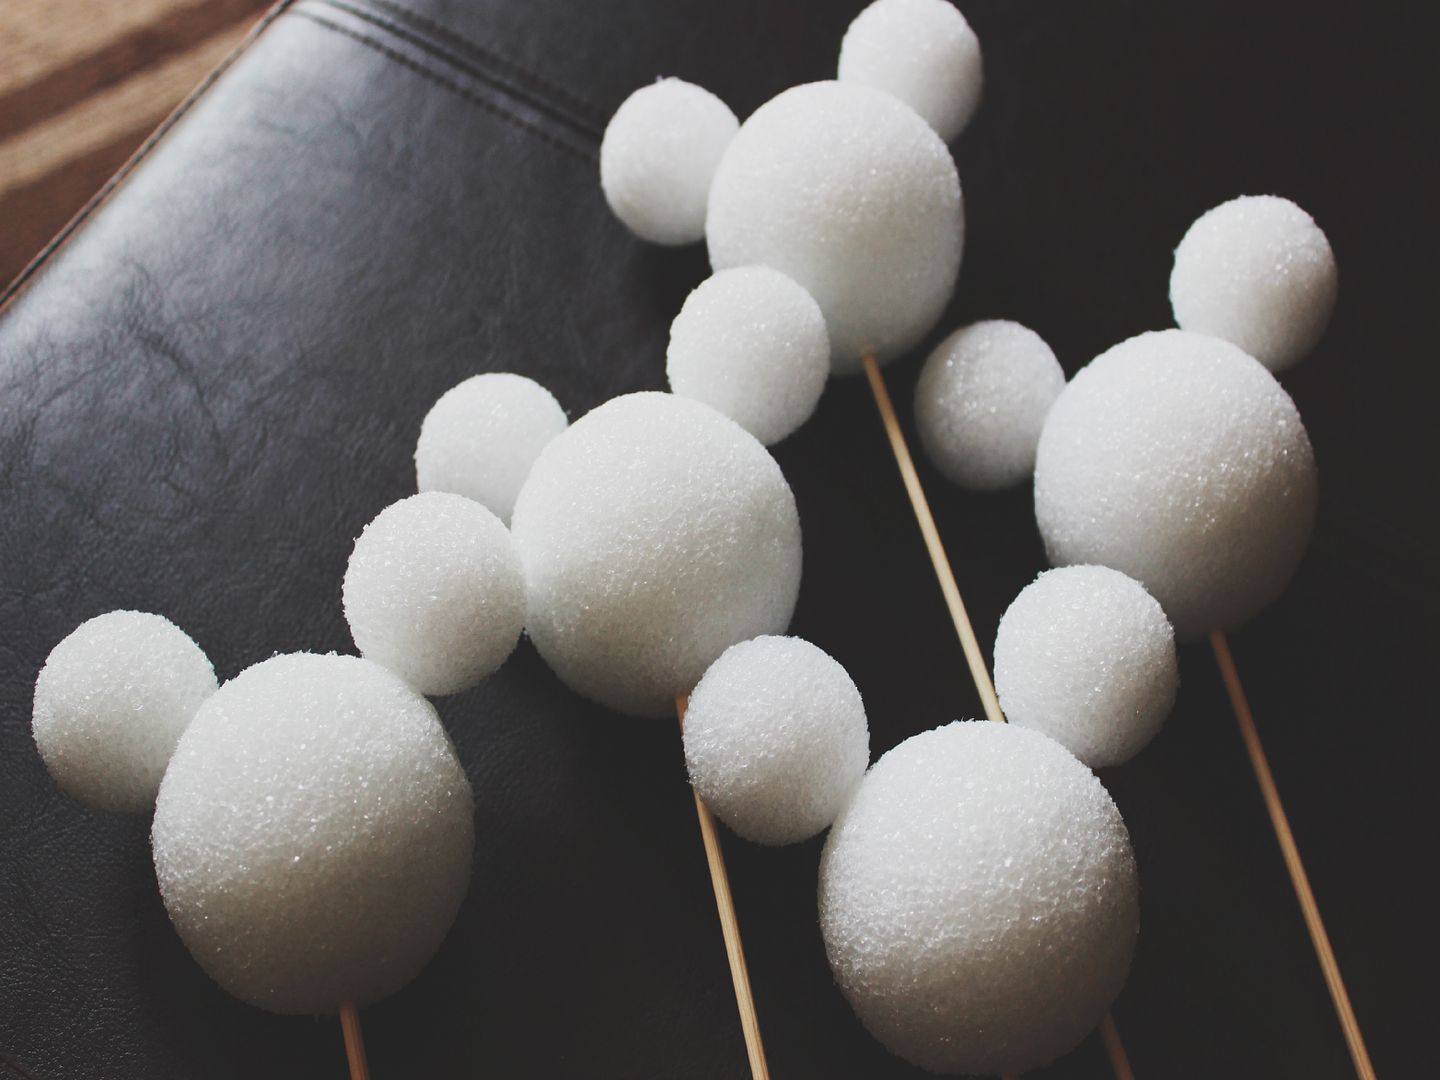
-small styrofoam balls for the ears-large styrofoam balls for the head
-toothpicks
-sticks
-black spray paint
To make the heads, I attached two small styrofoam balls to one large styrofoam ball using toothpicks. A trick I found was to insert the toothpick into the small ball first and then place the "ears" on the head. Once all of the ears were placed properly, I used some wooden kabob sticks and inserted those into the bottom of the head (where the neck might be).
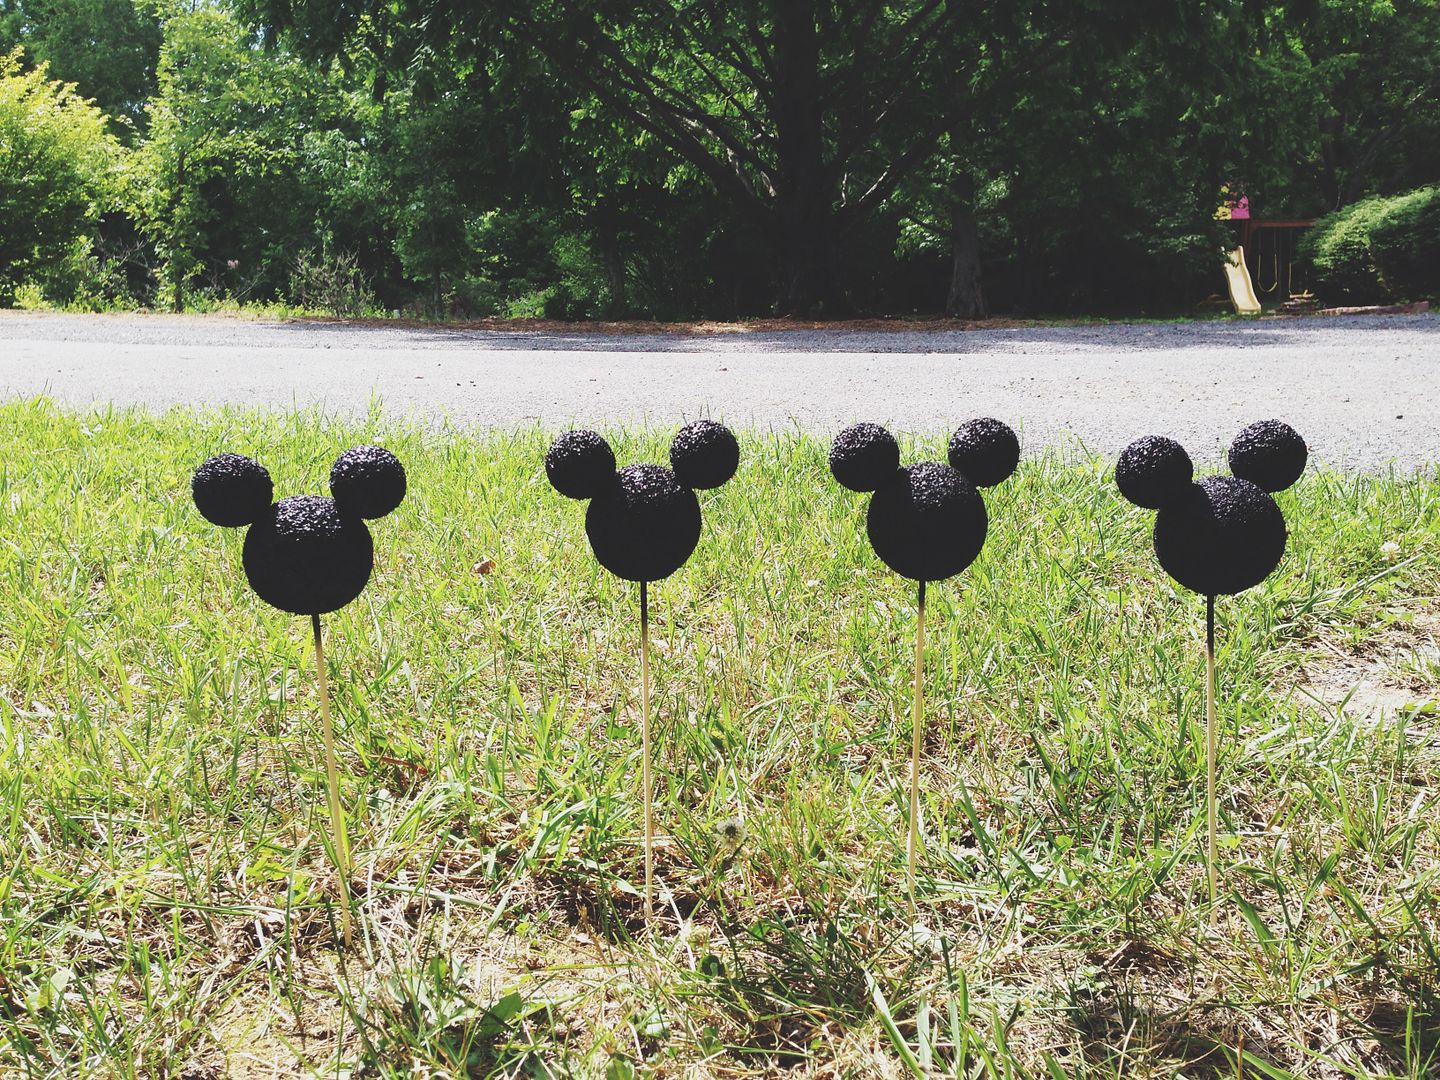
Then I took the heads outside and spray painted each head black. I kept spraying until everything was covered and no white was peeking through. To give the Mickey heads plenty of time to dry, I just inserted the kabob sticks into the ground so they could dry without laying on anything (It looked like my yard had sprouted Mickey's - so fun!). And that is it!!!!
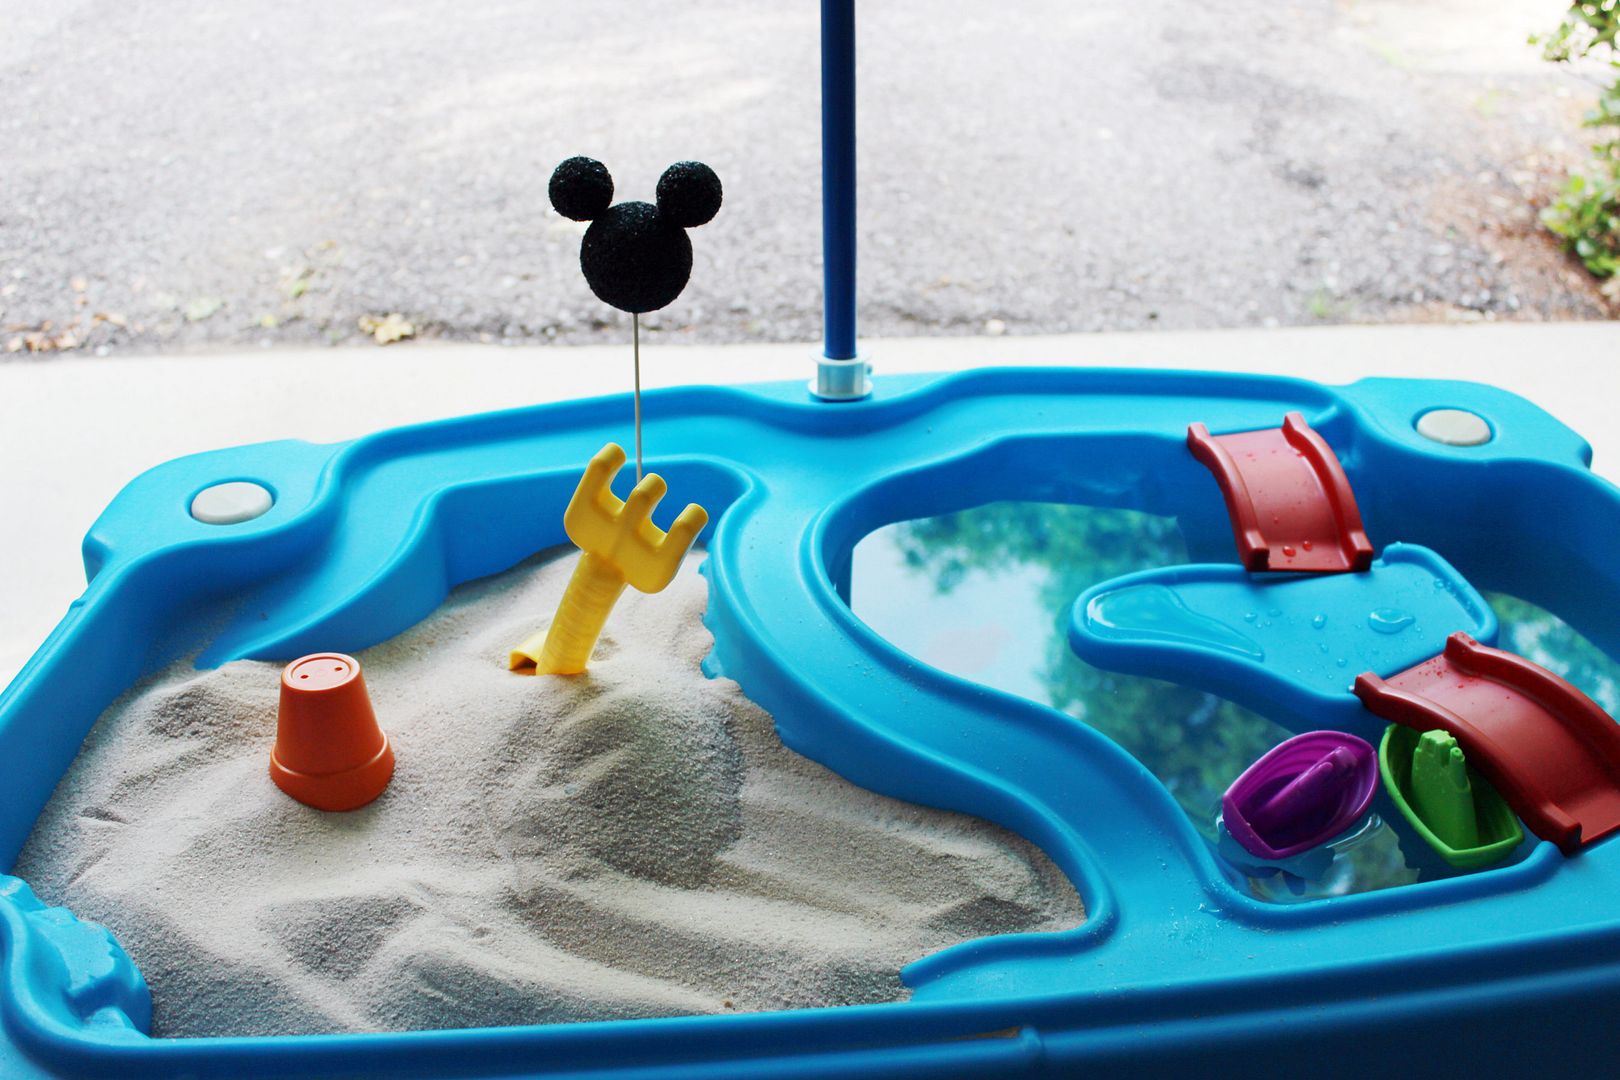
I found the styrofoam balls at Walmart in the craft section and everything else I already had. I love a craft that is so simple and basically costs nothing. The Mickey heads were fun to use to stick into all of the fun activities we had at the party. I also inserted a few into a big red vase and used it as a centerpiece on the food table. Easy peasy and oh so cute!!!


such a cute and easy DIY
ReplyDeletehttp://www.amysfashionblog.com/blog-home/