
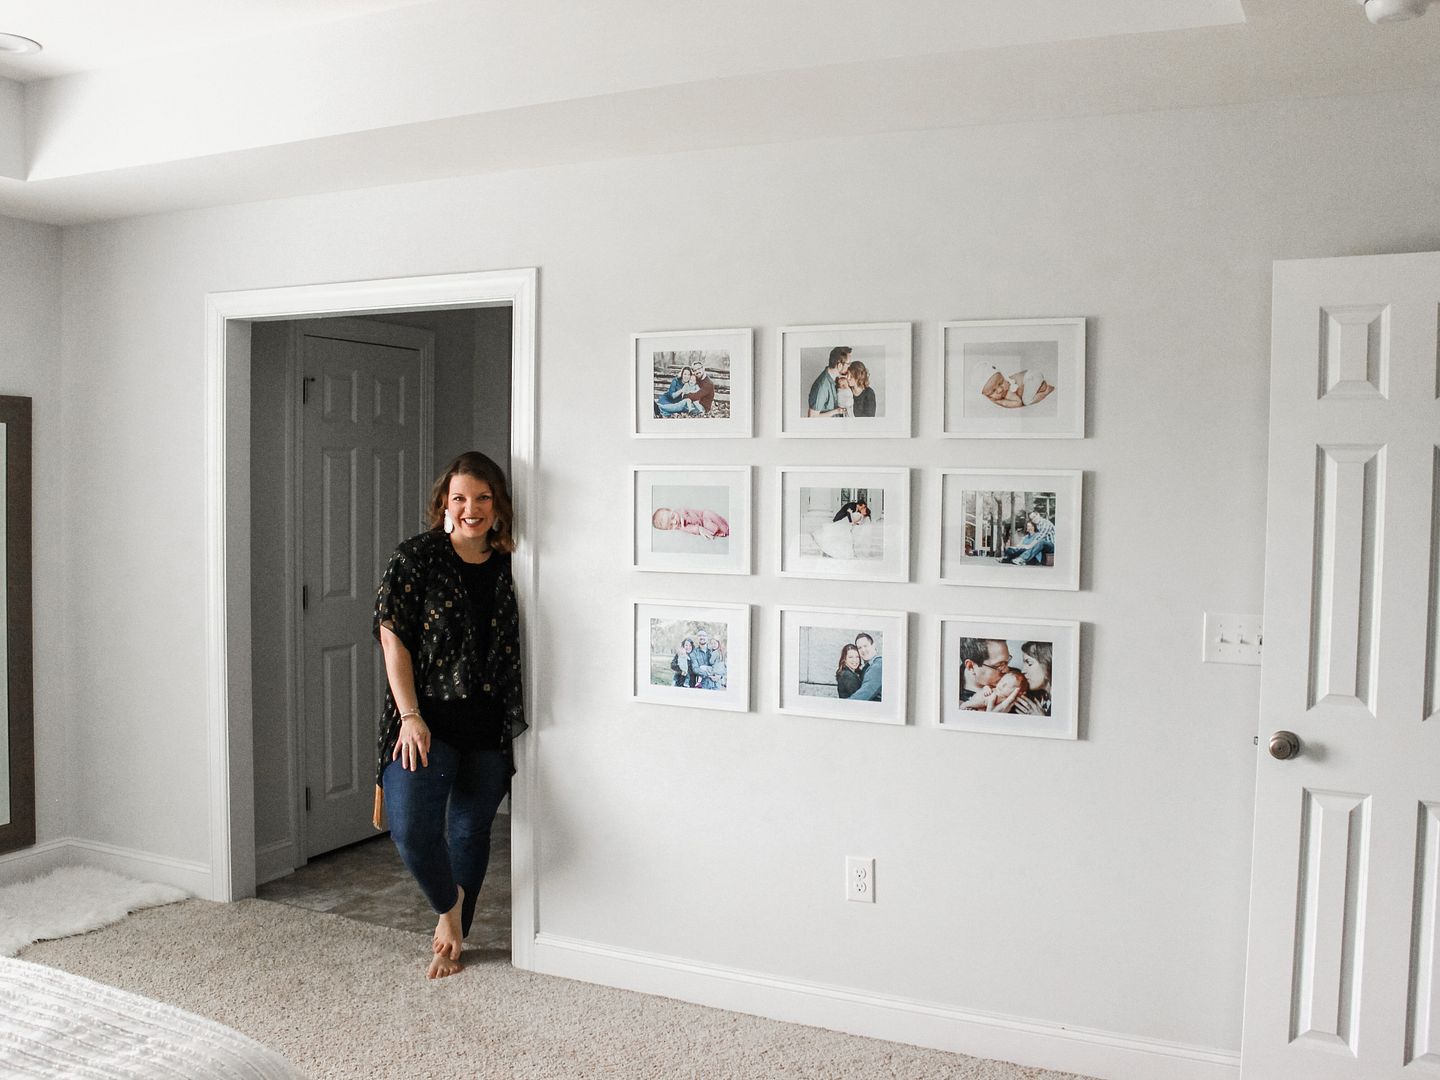
We have lived in our new house for almost two years and it has taken me all of that time to FINALLY install a gallery wall in our bedroom. I'm in LOVE with the gallery wall and get so happy whenever I walk past it. I'm kind of glad it took me so long to install everything, because I discovered a genius tip that can help when hanging a picture with two hooks.
We have numerous other wall hangings in our house that require two hooks and we have invested too much time and effort in hanging everything straight. If only I knew about this tip earlier!!!!
What's the trick?
Painter's tape.
Yep, a strip of painters tape saved me hours of time and plenty of frustration when I hung my gallery wall.
Here's how it works.
Flip the picture onto the backside so you can see the two hooks. Then take a piece of painters tape and place it between the two hooks. Next mark on the painters tape where the exact center of each hook is located. This way you know the distance between each hook without having to worry about rulers or tape measures or inches.
(Pro tip: I turned the frame upside down when marking the painters tape to make sure that the correct hook was on the same side when I transferred the tape to the wall. You will see how this comes into play below.)


Once you have marked both hook locations on the tape, place the tape on the wall where you want to hang your picture. Make sure the tape is level. I used a laser level for this. You can place your first nail (my starting point was always the left hook/nail) in the wall wherever it is indicated on the tape.
However, I quickly learned that the majority of the two hooks were NOT level on the back of the frame. This is why I decided to turn the picture upside down when marking the hook locations. I measured the distance from each hook to the top of the frame (or the bottom if you turn your frame upside down like I did) and then on the wall I marked the difference in height by using the tape. Since I knew exactly where the first nail was located thanks to my trusty leveled tape, I could then move my nail hole up or down a few millimeters from the tape line. There you can place your second nail where your mark is indicated on the painters tape.

Remove the tape and hang your picture!
This trick helped me hang this gallery wall in no time at all and with very little stress. I didn't have to keep measuring and nailing holes behind each picture in order to get it straight. With this trick, my pictures were straight every time.
However, I quickly learned that the majority of the two hooks were NOT level on the back of the frame. This is why I decided to turn the picture upside down when marking the hook locations. I measured the distance from each hook to the top of the frame (or the bottom if you turn your frame upside down like I did) and then on the wall I marked the difference in height by using the tape. Since I knew exactly where the first nail was located thanks to my trusty leveled tape, I could then move my nail hole up or down a few millimeters from the tape line. There you can place your second nail where your mark is indicated on the painters tape.
Remove the tape and hang your picture!
This trick helped me hang this gallery wall in no time at all and with very little stress. I didn't have to keep measuring and nailing holes behind each picture in order to get it straight. With this trick, my pictures were straight every time.

For those that are interested. I hung my pictures with a three inch gap between each frame.
You can create a gallery wall without spending a fortune. I used very simple and classic frames that were under $9 a piece. The frames I used are 11x14, matted to 8x10. I printed my 8x10 pictures when there was a sale on prints, also saving me a ton of money!
Have questions? Feel free to ask me below or find me on instagram and reach out there!


Have questions? Feel free to ask me below or find me on instagram and reach out there!


Interesting and helpful
ReplyDeleteI can't believe it been almost 2 year you have been living in your new house.
ReplyDeletehttp://www.amysfashionblog.com/blog-home